
The final walkthrough is often the last step before you close on your new home, and while it may seem like a formality, it plays a critical role in ensuring you’re truly ready to sign on the dotted line. This isn’t just a victory lap through your soon-to-be home—it’s your last opportunity to confirm the property is in the condition agreed upon in your contract.
Buyers often assume that once the inspection is complete and the appraisal has cleared, the hard work is over. But the final walkthrough is where all the fine details come into focus. It ensures that repairs have been completed, nothing has been removed that shouldn’t have been, and that the home is move-in ready.
To help you feel confident and prepared, here’s a detailed breakdown of what to expect during your final walkthrough—and a practical checklist of what you should bring and look for.
What Is the Final Walkthrough?
The final walkthrough typically takes place within 24 to 72 hours before closing. Its primary purpose is to ensure that the home’s condition hasn’t changed since you last saw it and that the seller has upheld their end of the contract.
It’s not another home inspection. Instead, it’s your chance to verify that:
-
The home is in the same condition as when you agreed to purchase it.
-
Any agreed-upon repairs have been completed.
-
No new damage has occurred since your last visit.
-
Appliances, systems, and fixtures are working as expected.
-
The home is free of the seller’s belongings (unless otherwise agreed).
How Long Does It Take?
A final walkthrough can take anywhere from 15 minutes to an hour depending on the size of the home and the number of items you’re verifying. You should not rush it. This is your opportunity to make sure you’re buying what you agreed to—no surprises.
Who Attends the Final Walkthrough?
In most cases, you’ll walk through the home with your real estate agent. The seller and their agent usually don’t attend unless there’s a specific reason. If you’re buying a newly constructed home or if there were significant repairs made, a contractor or builder representative might also be present.
What to Bring with You
Being prepared can make your walkthrough smoother and more productive. Here’s a quick list of what to bring with you:
1. Purchase Agreement and Repair Amendments
Bring a copy of the sales contract and any documents outlining repairs the seller agreed to make. These will help you double-check what’s been promised.
2. Inspection Report
The inspection report is a useful reference if you’re following up on any previously discovered issues.
3. Final Walkthrough Checklist (we’ll get to this below)
Having a checklist ensures you don’t forget anything important during your walkthrough.
4. Camera or Smartphone
Snap pictures of anything that seems off or that you want to document for your records.
5. Notepad and Pen
Jot down questions, concerns, or notes for your agent.
6. Phone Charger or Small Electronics
This might sound odd, but a phone charger, hair dryer, or other small plug-in item is useful to test outlets.
7. Your Real Estate Agent
You won’t “bring” your agent per se, but make sure they accompany you. They’ll be a vital advocate if anything needs to be addressed before closing.

Hair Dryer
What to Check During the Final Walkthrough
Here’s a thorough checklist of what to inspect before you sign off on the property:
1. General Condition of the Home
-
Has anything changed since your last visit?
-
Is the property clean and free of debris?
-
Are there any new scratches, dents, stains, or holes in the walls or floors?
2. Repairs
-
Were all agreed-upon repairs completed?
-
Ask for receipts or documentation from licensed professionals, if repairs were significant.
-
Do the repairs appear to have been done properly?
3. Appliances and Fixtures
-
Test all appliances to ensure they work (stove, oven, dishwasher, refrigerator, washer, dryer, etc.).
-
Run water through all faucets and check for leaks.
-
Flush all toilets.
-
Make sure light fixtures and ceiling fans work.
-
Turn on the garbage disposal.
-
Test the HVAC system—both heat and air conditioning.
4. Plumbing
-
Look under sinks for leaks.
-
Check for water damage in cabinets, around bathtubs, and near appliances.
-
Ensure that all toilets flush and refill properly.
5. Electrical
-
Flip every switch in every room.
-
Test outlets (use your phone charger or an outlet tester).
-
Verify garage door openers, exhaust fans, and doorbells are working.
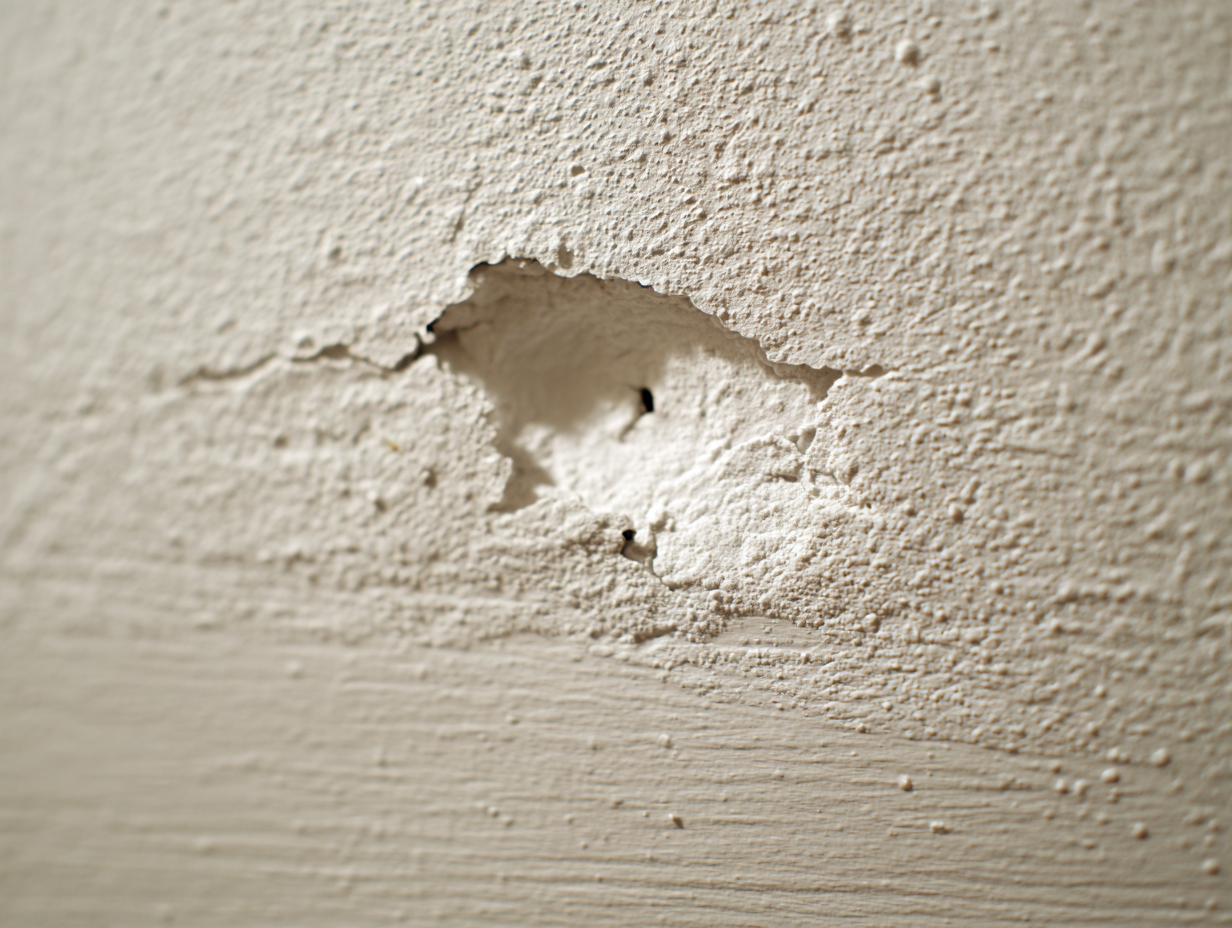
New Wall Dent
6. Doors and Windows
-
Open and close all doors and windows to make sure they operate smoothly.
-
Check that all windows lock.
-
Look for broken glass or damaged screens.
7. Walls, Ceilings, and Floors
-
Make sure nothing has been damaged during the seller’s move-out.
-
Watch for signs of mold or water damage, especially in corners and near ceilings.
8. Basement, Attic, and Garage
-
Walk through these less-visible areas to confirm they’re clear of belongings (unless otherwise agreed).
-
Look for signs of pests, mold, or leaks.
9. Outdoor Areas
-
Inspect decks, patios, landscaping, fences, and any included sheds or outbuildings.
-
If the property includes a pool, make sure it’s clean and functioning.
-
Check exterior lighting and irrigation systems if applicable.
10. Items That Should Stay
-
Ensure that fixtures such as light fixtures, window treatments, curtain rods, and mounted TVs (if included) remain in place.
-
Confirm that items agreed to remain—like a washer/dryer, refrigerator, or furniture—are still there.
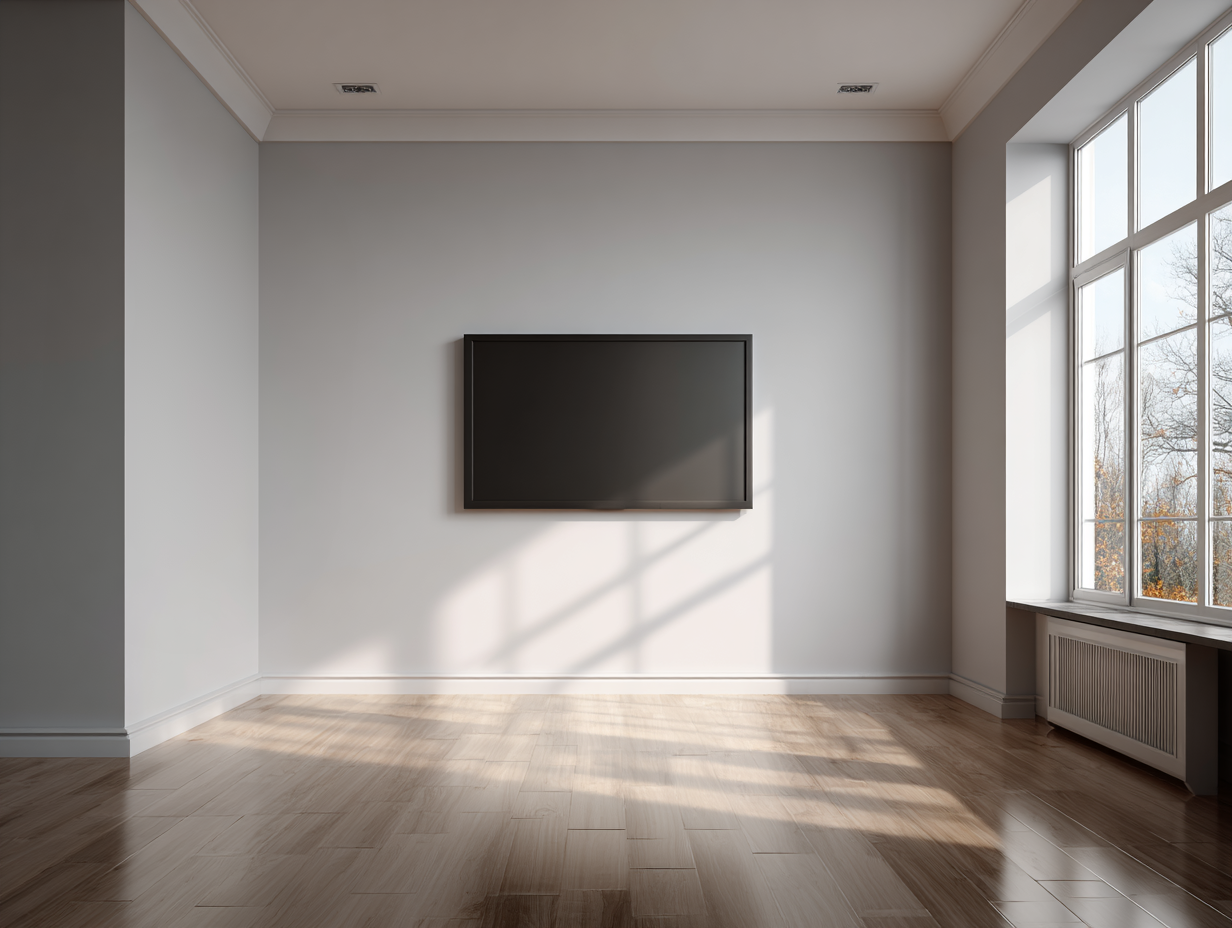
Mounted Television
11. Items That Should Be Removed
-
Verify the seller has moved out completely unless you agreed to possession post-closing.
-
Look for any forgotten junk in cabinets, garages, basements, or attics.
12. Safety Equipment
-
Check smoke detectors and carbon monoxide detectors.
-
Locate the breaker box and ensure all switches are labeled.
What If You Find a Problem?
If you spot an issue during your walkthrough, don’t panic—but don’t ignore it either. Your real estate agent should immediately contact the seller’s agent to address the problem before closing.
Depending on the issue, you might:
-
Ask for a repair to be completed before closing.
-
Request a financial credit at closing to handle it yourself.
-
Delay the closing until it’s resolved (rare, but possible).
The key is to not sign the closing paperwork until you’re satisfied. Once you close, issues become much harder to rectify.
Can You Skip the Final Walkthrough?
Technically, yes—but we strongly advise against it. Skipping the final walkthrough means waiving your last chance to verify the home’s condition. Even in competitive markets where buyers are eager to close quickly, this step can protect you from costly surprises. Even minor issues—like a missing microwave or a broken shower head—can be frustrating after move-in.

Final Walkthrough
Final Tips for a Smooth Walkthrough
-
Schedule during daylight so you can clearly see everything inside and out.
-
Don’t rush the process—allow yourself enough time to be thorough.
-
Stay focused—this is an emotional time, but keep your attention on the details.
-
Trust your gut—if something seems off, say something.
Remember, the final walkthrough is for your peace of mind. It’s your final check-in before the big move and a critical step to protect your investment.
Final Thoughts
Closing on a home is one of the most exciting milestones in life. But before you celebrate with keys in hand, the final walkthrough ensures everything is as it should be. With the right checklist and a little preparation, this process can help you avoid last-minute surprises, confirm that all promises have been fulfilled, and give you the confidence to move forward.
So bring your checklist, keep your eyes open, and don’t hesitate to speak up. After all, this is your future home—we want it to feel just right from the moment you step through the door.
