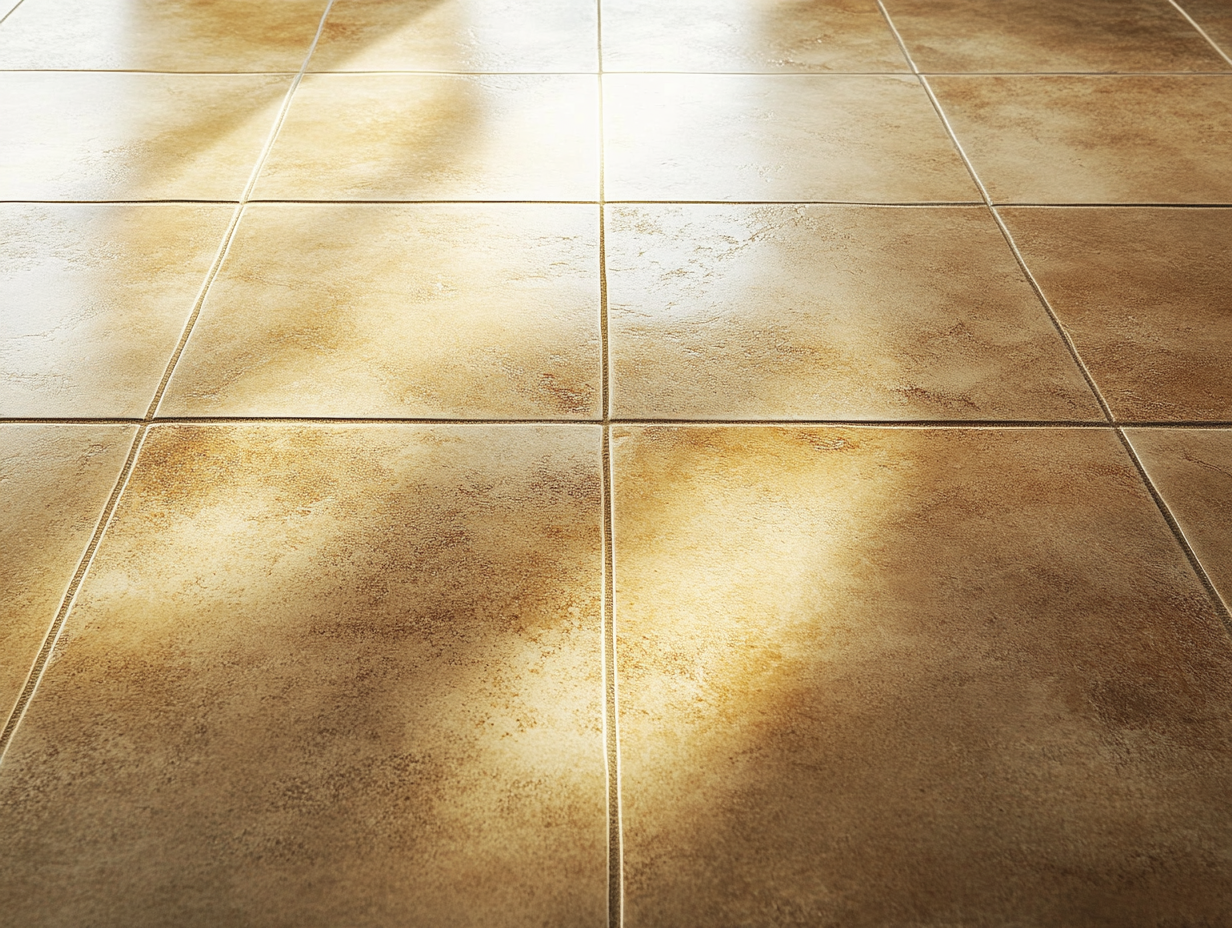
Tiles can add elegance and character to any room, but their true charm only shines when they’re clean. And then there’s the grout—the lines in between that often bear the brunt of spills, dirt, and mold. Without regular maintenance, tile and grout can become discolored and unpleasant. Wondering how to keep them spotless and mold-free? Let’s dive into some practical tips and tricks.
1. Why Tile and Grout Get Dirty So Easily
Grout is porous, meaning it easily absorbs moisture, dirt, and even oils from cooking or body products. Once the dirt sets in, it can be tough to remove, and if mold spores find their way into damp grout, they can multiply quickly. Tile, on the other hand, might resist stains better but isn’t immune to soap scum, mineral deposits, and grime buildup over time.
Tip: Regular maintenance is key to preventing that “old and dirty” look and keeping mold and mildew at bay.
2. Essential Cleaning Tools and Supplies
To keep your tile and grout clean, you don’t need a closet full of fancy products. Here’s what you should have on hand:
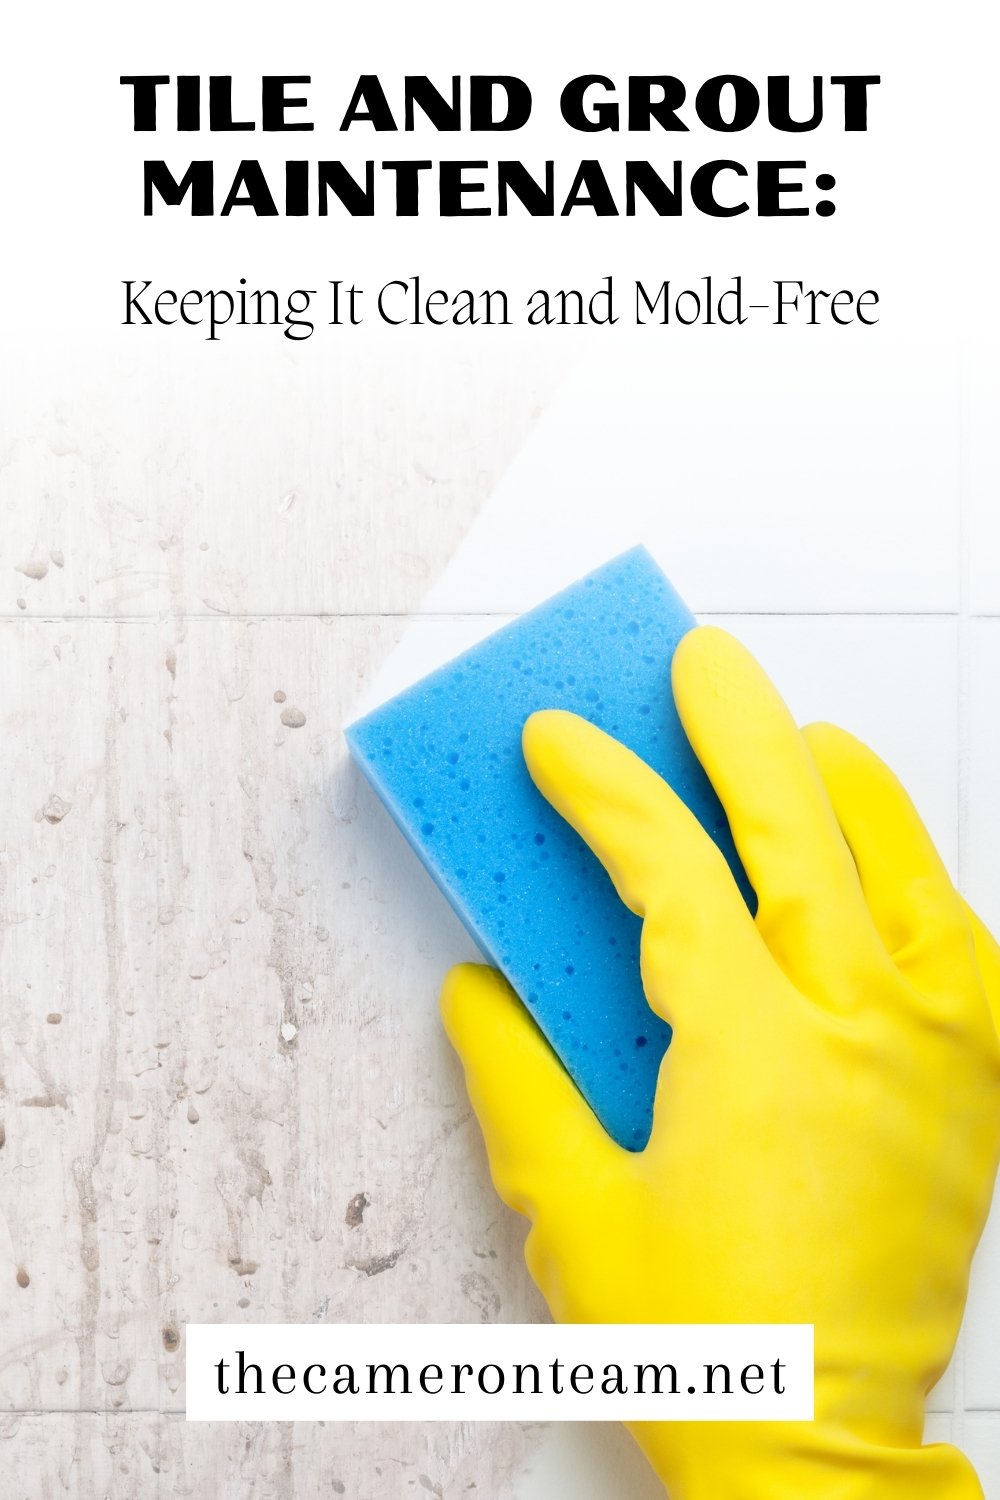
- Soft Bristle Brush or Toothbrush: Perfect for scrubbing grout without scratching tiles.
- Microfiber Cloth or Mop: Ideal for regular tile wiping or mopping.
- pH-Neutral Cleaner: A gentle cleaner that won’t damage the tile or grout.
- Baking Soda and Vinegar: A natural combo that works wonders on stains and grime.
- Grout Sealant: Prevents stains and mold from penetrating into the grout.
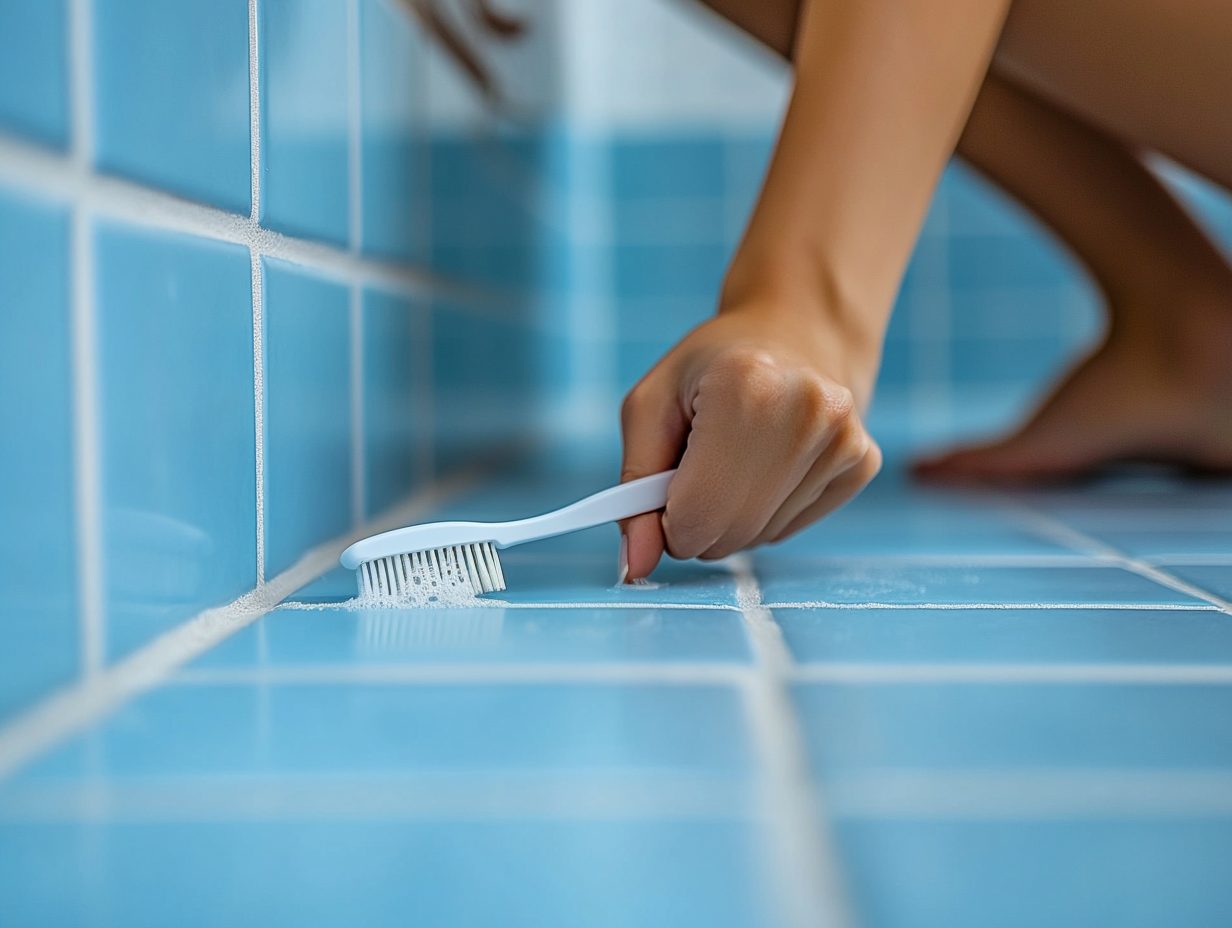
Scrubbing Grout with Toothbrush
3. Daily and Weekly Tile and Grout Maintenance Routine
Daily Care
- Wipe Spills Immediately: Spills, especially acidic substances like juice or wine, should be wiped up right away to prevent staining.
- Dry After Use: For bathroom tiles, wipe them dry after a shower to minimize water buildup and reduce the chances of mold forming.
Weekly Deep Clean
- Vacuum or Sweep First: Remove loose dirt and debris to avoid scratching tiles.
- Mop or Wipe Down Tiles: Use a microfiber mop with a pH-neutral cleaner. Avoid using too much water since grout can absorb it.
- Scrub the Grout: Use a soft brush to clean grout lines. For stubborn stains, make a paste of baking soda and water, scrub gently, then rinse.
Pro Tip: Make sure not to use harsh chemicals like bleach or ammonia on grout, as they can damage it over time.
4. Handling Mold and Mildew on Grout
If mold or mildew has taken hold in your grout, you’ll need to be a bit more aggressive in your cleaning approach:
- Create a Cleaning Solution: Mix equal parts vinegar and water, or use a dedicated mold-killing cleaner.
- Apply the Solution: Spray it onto the moldy grout and let it sit for about 10-15 minutes.
- Scrub the Grout: Use a brush to scrub the grout lines thoroughly.
- Rinse and Dry: Rinse the area with clean water and dry it completely.
Note: If the mold doesn’t budge, you may need to repeat the process a few times. Always dry the area well afterward to prevent moisture buildup.
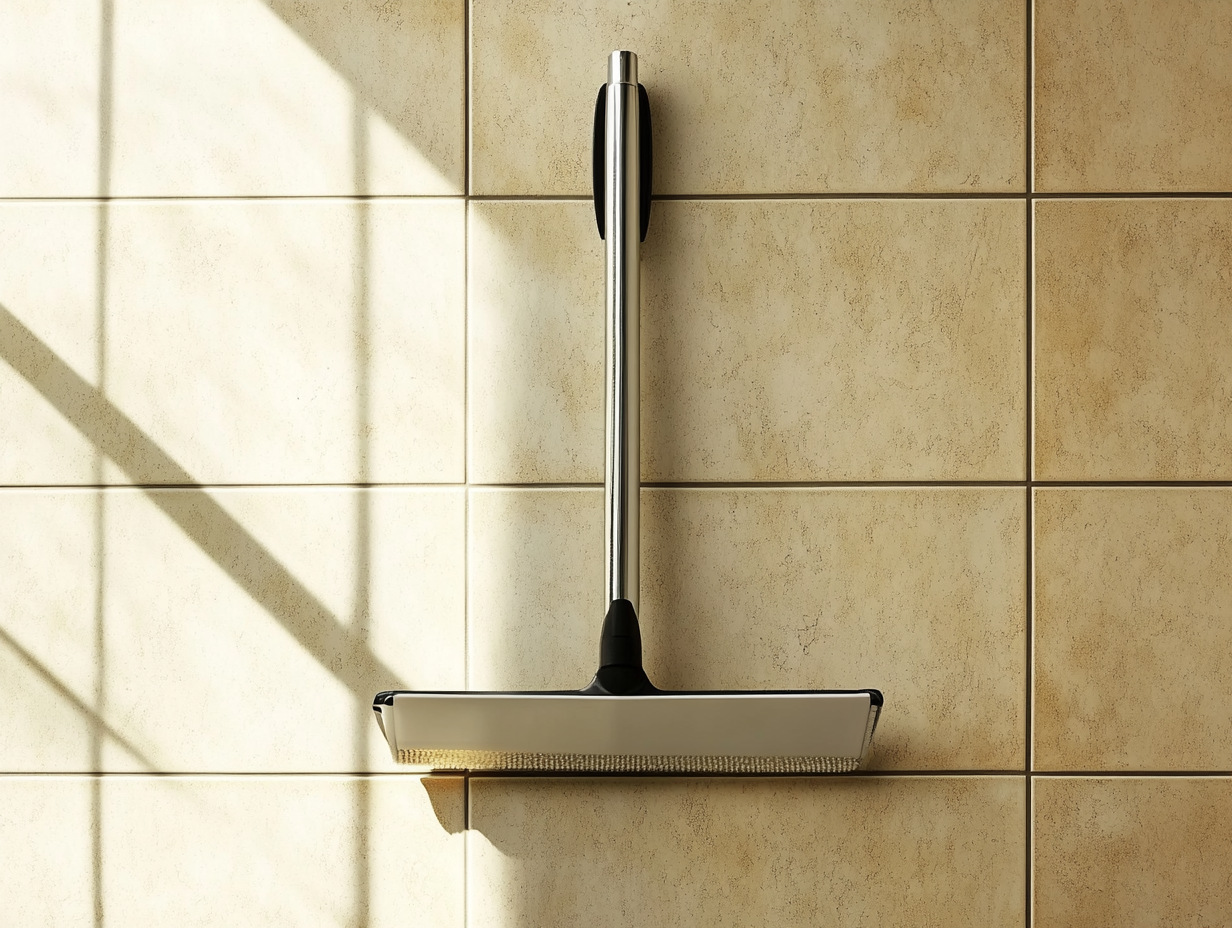
Squeegee Hanging in Shower
5. Sealing Your Grout for Long-Term Protection
Sealing your grout is like adding an invisible shield that repels moisture, dirt, and stains. Here’s how to do it:
- Clean the Grout Thoroughly: Ensure it’s spotless before sealing. You don’t want to lock in any dirt.
- Apply Grout Sealant: Use a paintbrush or applicator to coat the grout lines. Work in small sections for even coverage.
- Let It Dry: Allow the sealant to dry as per the manufacturer’s instructions before using the area.
Re-Seal Regularly: Reapply the sealant every 6 months to a year for the best results.
6. Preventive Tips for Spotless Tile and Grout
- Use a Squeegee in the Shower: After each shower, use a squeegee to remove water from tile walls. This simple habit can greatly reduce moisture and prevent mold growth.
- Doormats are a Must: Place doormats at entry points to keep dirt from being tracked in. For high-traffic areas like the kitchen, consider rugs to prevent excess wear on tiles.
- Choose the Right Cleaner: Avoid acidic cleaners on natural stone tiles, as they can cause etching or discoloration.
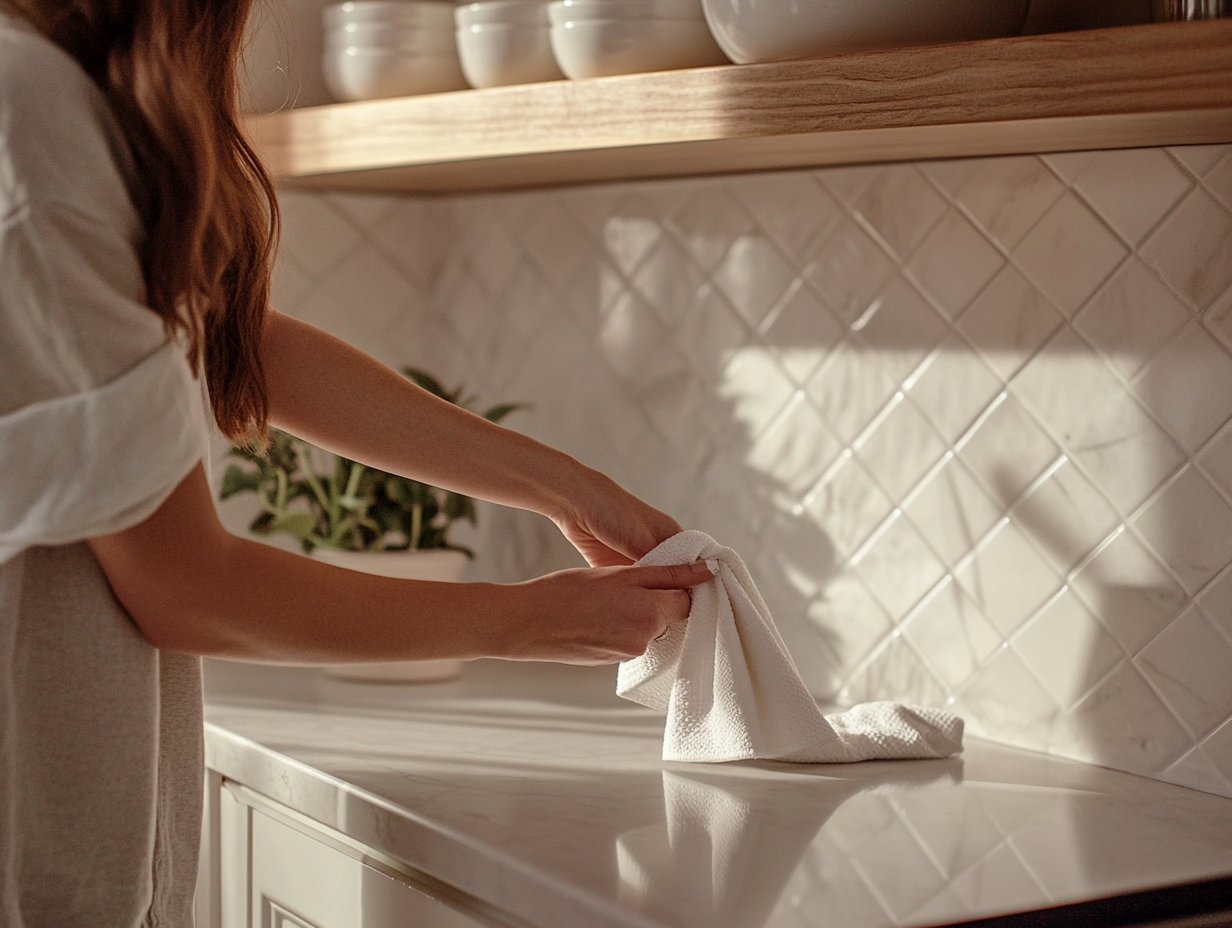
Wiping Down Tile Backsplash
FAQs
Q1: How often should I deep clean my grout?
A: For high-traffic or wet areas (like showers or kitchen floors), deep clean the grout every month. In less frequented areas, every 2-3 months should suffice.
Q2: Can I use bleach on moldy grout?
A: It’s best to avoid bleach as it can damage grout and tiles over time. Use a gentler cleaner like vinegar, baking soda, or a commercial grout cleaner instead.
Q3: How do I know if my grout needs resealing?
A: Sprinkle a few drops of water on your grout. If the water is absorbed quickly, it’s time to reseal.
Wrapping It Up
Tile and grout are major contributors to the overall aesthetic of your home, and keeping them clean and mold-free doesn’t have to be a chore. With a little regular upkeep, the right tools, and preventive measures like sealing, your tile and grout will look as fresh as the day they were installed.
Take care of those tiles, keep that grout gleaming, and enjoy a cleaner, healthier living space!
Tile and Grout Maintenance: Keeping It Clean and Mold-Free
