Power outlets are something we use every day, but they don’t usually get much attention—until there’s a problem. Whether it’s a loose plug, a crack in the faceplate, or signs of burning, knowing how to maintain and replace outlets safely is key to avoiding bigger issues down the line. However, electricity is no joke. Even a seemingly simple task can carry serious risks. This guide will walk you through the basics of safe outlet maintenance and replacement, but remember: when in doubt, always call a licensed electrician!
Disclaimer:
Working with electrical systems can be dangerous. It’s recommended to have a licensed electrician handle any repairs or replacements. This guide is for informational purposes only. Follow all safety guidelines, and do not attempt any work you’re uncomfortable with.
Why Power Outlet Maintenance Matters
Regular outlet maintenance can help prevent electrical issues that might lead to fire hazards or appliance damage. Outlets can degrade over time, particularly in older homes or high-use areas like kitchens and bathrooms. Inspecting outlets and performing basic upkeep can save you from unexpected power issues, and it’s also essential to check for signs of wear and tear regularly.
Here’s what you’ll learn in this guide:
- How to inspect outlets safely
- Simple maintenance tips
- How to replace a damaged outlet
- Safety precautions
- When to call a professional
Let’s get started!
1. Inspecting Your Outlets for Safety
Before diving into maintenance or replacement, make it a habit to inspect your outlets. Here’s what to look for:
- Loose or Wobbly Outlets: A loose outlet can be a fire hazard. It might mean the screws have come undone or the outlet box is deteriorating.
- Cracks or Discoloration: Cracks can expose wiring, while discoloration might indicate overheating.
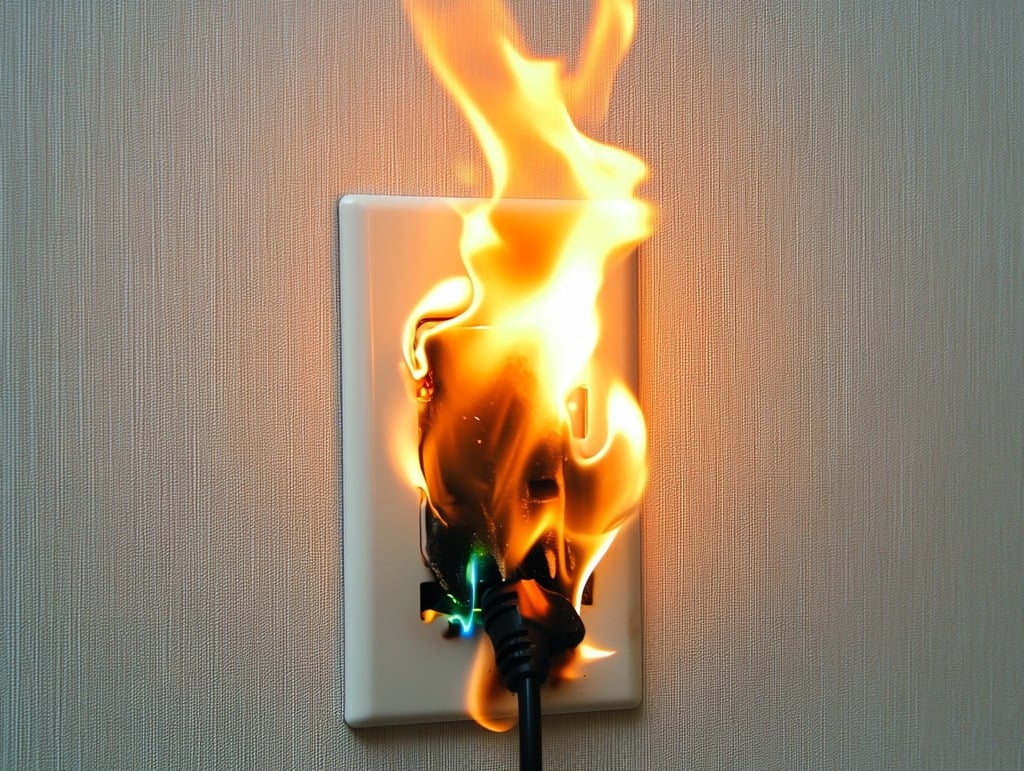
- Burn Marks or Smell of Burning: If you see burn marks or smell anything unusual, cut the power to that outlet immediately. These are signs of severe electrical problems.
- Hot Outlets: Outlets should never feel warm to the touch. If they do, it’s a sign of overloading or loose connections.
Pro Tip: If you notice any of these issues, take them seriously. They’re often early warnings of bigger problems.
2. Basic Power Outlet Maintenance Tips
Regular maintenance can prolong the life of your outlets and prevent problems. Here are a few easy steps:
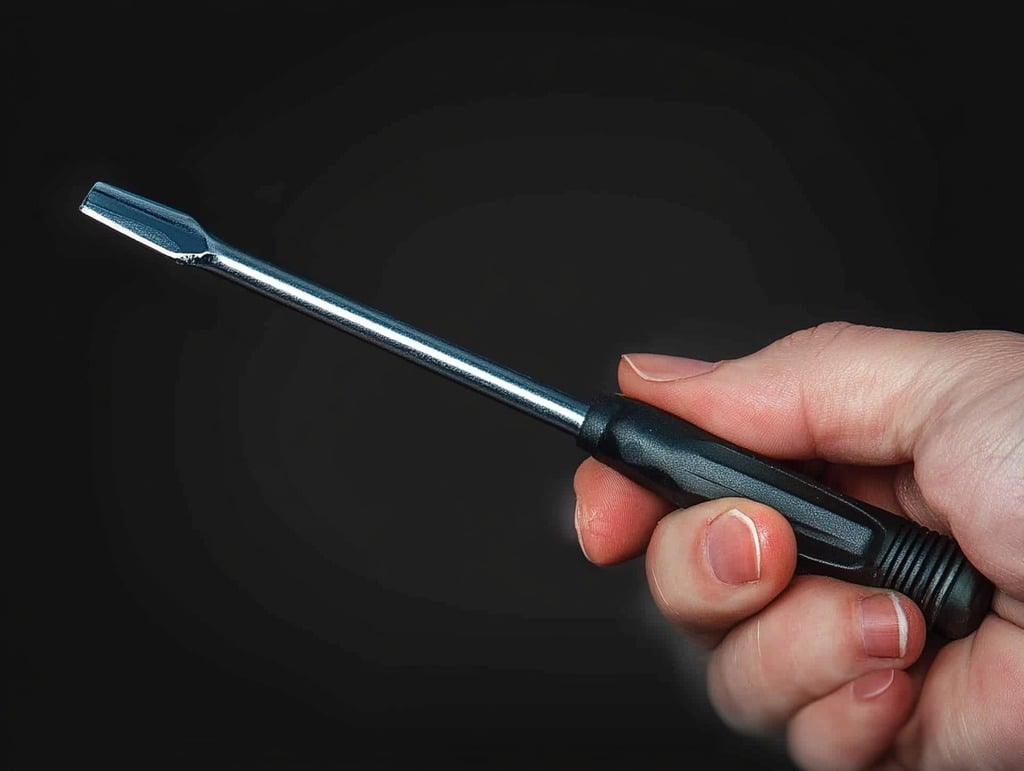
- Tighten Loose Outlets: Sometimes, the screws holding the outlet can become loose. Make sure to cut off power at the breaker first, then use a screwdriver to tighten any loose screws.
- Clean Dust and Debris: Over time, dust can accumulate in outlets, especially those in kitchens or workshops. Use a dry cloth or compressed air to clean out debris. Avoid using water or cleaning solutions, as they could cause short-circuiting.
- Test Outlets Regularly: You can use an outlet tester (a small, inexpensive device available at hardware stores) to check that outlets are wired correctly and working as they should. This is especially useful in older homes where wiring might be outdated.
3. Replacing a Damaged Power Outlet: Step-by-Step Guide
If an outlet shows signs of damage, replacement might be necessary. Here’s a basic guide to replacing an outlet. Remember, this is a general overview, and it’s best to hire an electrician for safe installation.
Tools You’ll Need:
- Screwdriver
- Voltage tester
- Replacement outlet
- Needle-nose pliers
- Wire stripper
Step 1: Turn Off the Power
Head to your breaker box and shut off the power to the outlet you’re working on. Double-check with a voltage tester to ensure no electricity is flowing.
Step 2: Remove the Outlet Cover
Unscrew the cover plate to expose the outlet. Use a voltage tester on the wires to confirm again that no electricity is present.
Step 3: Remove the Old Outlet
Unscrew the outlet from the wall box and gently pull it out, exposing the wires. Take note of where each wire connects—usually, black (hot) wires go to brass screws, white (neutral) wires to silver screws, and green or bare wires to the ground screw.
Step 4: Attach the Wires to the New Outlet
Use needle-nose pliers to wrap the wires around the corresponding screws on the new outlet. Make sure the connections are secure and there’s no exposed wire sticking out.
Step 5: Secure the New Outlet and Test
Once the new outlet is wired, carefully place it back into the wall box and screw it in. Replace the cover plate, then go back to the breaker box to restore power. Test the outlet with a device or outlet tester to ensure it’s working.
Note: If the wires are damaged or frayed, it’s a sign of a deeper issue, and you should call a professional immediately.
4. Key Safety Tips When Working with Outlets
Electrical work, even for minor repairs, requires caution. Here’s how to stay safe:
- Always Turn Off Power: Never assume the power is off. Use a voltage tester to be certain.
- Use Insulated Tools: Insulated tools reduce the risk of electric shock.
- Work in Dry Conditions: Avoid working on outlets if there’s any moisture in the area. Water and electricity don’t mix!
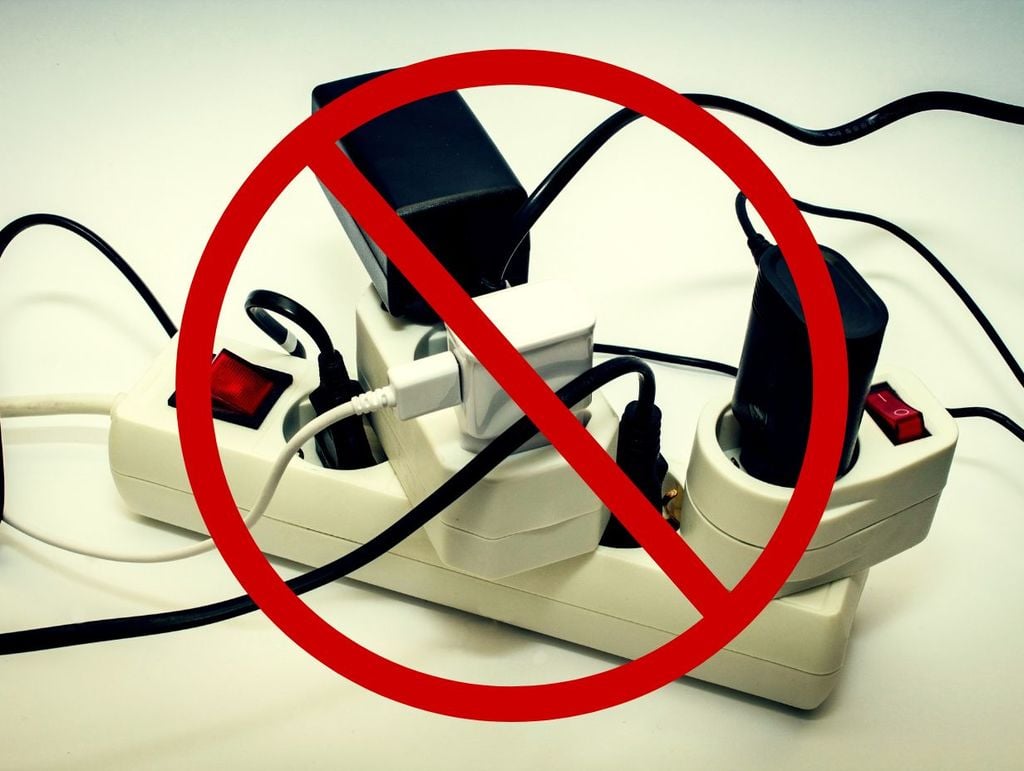
- Never Overload Outlets: Avoid connecting too many devices to a single outlet, especially high-wattage items like space heaters or microwaves. Overloading can cause overheating.
5. When to Call a Licensed Electrician
If you’re ever unsure about handling an outlet or encounter complex issues (like frayed wires, tripped breakers, or flickering lights), don’t hesitate to call an electrician. Here are some scenarios where professional help is a must:
- Outdated Wiring: Older homes often have wiring that doesn’t meet modern safety standards.
- Frequent Tripping of Breakers: If a breaker trips regularly, it could indicate a circuit overload or wiring problem.
- Burning Smell or Scorch Marks: These are clear signs of electrical trouble and should not be ignored.
- Any Doubts About Safety: When in doubt, play it safe. Electrical work is complex, and mistakes can be dangerous.
Frequently Asked Questions (FAQs)
Q. Can I replace an outlet myself?
A. Yes, but only if you’re comfortable and have basic electrical knowledge. However, for your safety, it’s often best to leave it to a professional.
Q. How often should I check my outlets?
A. It’s a good idea to inspect outlets every six months, particularly in high-use areas or older homes.
Q. What should I do if an outlet sparks?
A. Turn off the power to that outlet immediately and call a licensed electrician. Sparking can indicate serious electrical issues.
Q. Are two-prong outlets safe?
A. Two-prong outlets are common in older homes but lack grounding, which can make them less safe. It’s best to upgrade them to three-prong outlets with grounding.
Wrapping Up
Maintaining and replacing power outlets doesn’t have to be a mystery, but it does require caution and respect for electricity. By inspecting your outlets, performing simple maintenance, and following strict safety protocols, you can prevent minor issues from turning into major hazards. But remember, if at any point you’re uncertain, call a licensed electrician. A professional touch is often the best way to ensure your home’s electrical system is safe and reliable.
Taking small steps today to keep your outlets in good shape can make a big difference in your home’s overall safety. Stay safe and always respect the power of electricity!


