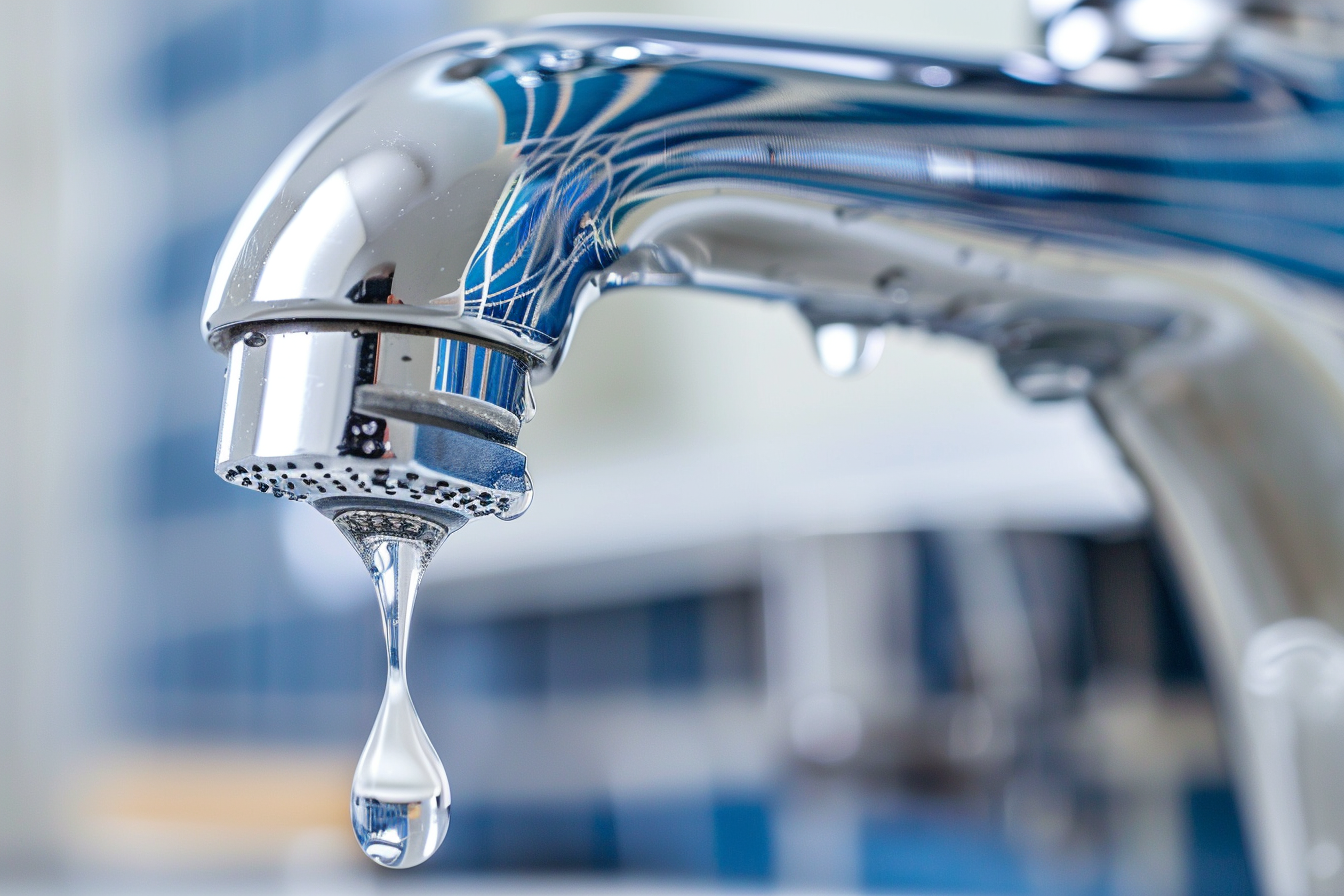
Plumbing issues, big or small, can seriously disrupt your daily life. From a leaky faucet that keeps you up at night to a clogged drain that backs up your plans, these problems can escalate into significant disasters if left unattended. However, you can steer clear of most of these issues with a little proactive maintenance. Let’s explore the fundamental practices to keep your plumbing system in excellent condition and avoid those pesky leaks and blockages.
Please note: The Cameron Team has not been paid or received any other compensation to include any of the products featured on this post, but the author has included affiliate links and content. If you click on a link, they may earn a commission – a high-five for great content!
The Importance of Regular Inspections

Man Inspecting Plumbing
Routine Checks
Inspecting your plumbing system regularly is essential. These checks are your first line of defense, helping you identify potential problems before they escalate into costly disasters.
How Often Should You Inspect?
Twice a year is generally sufficient, but for those living in older homes or areas with hard water, more frequent inspections might be necessary.
Key Inspection Areas:
- Leaks: Regularly check places under sinks, around toilet bases, and visible piping areas like basements or attics.
- Corrosion: Look out for discoloration or green stains on copper and brass fittings, as well as rust on iron or steel pipes.
- Water Pressure: Monitor water pressure; a significant drop could indicate a leak or blockage.
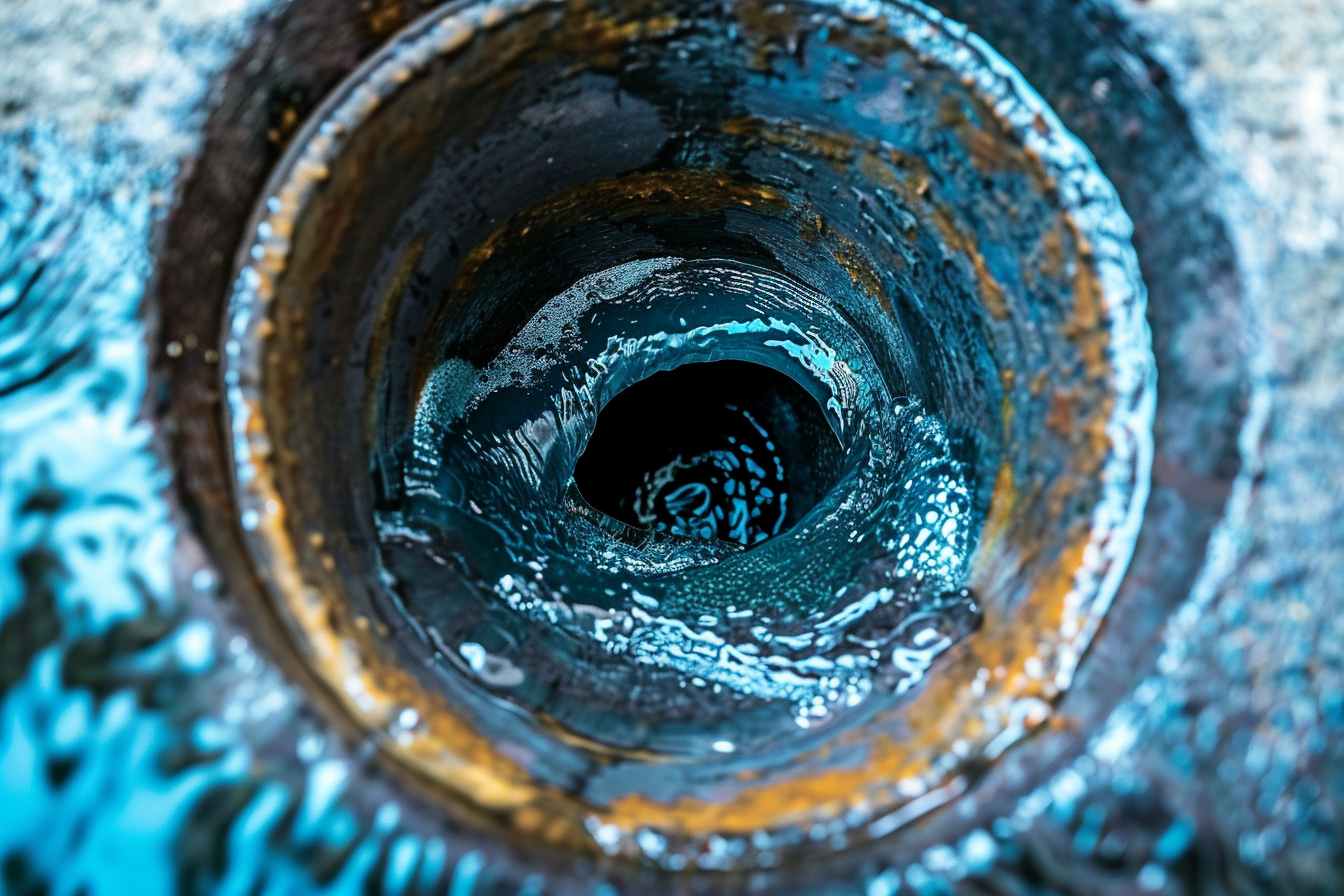
Clogged Drain
Maintaining Clear and Clean Drains
One of the most common problems you’ll have with your plumbing is clogged drains. At minimum, a clogged drain will cause your sink or tub to empty slowly. At its worst, a clogged drain can cause backups and busted pipes that can cause thousands of dollars worth of damage. Here’s how to keep your drains clean the safe way.
Avoiding Chemicals
When it comes to maintaining your plumbing system, the use of harsh chemical cleaners can often do more harm than good. These chemicals can corrode pipes, harm the environment, and even pose health risks to your household. Instead, embracing safer, more natural alternatives not only extends the life of your plumbing but also keeps your home safe and sustainable. Here’s a deep dive into why you should avoid chemical drain cleaners and the best alternatives to keep your drains flowing freely.
The Hazards of Chemical Drain Cleaners
Chemical drain cleaners are typically a go-to solution for most clogged and slow-running drains. These products usually contain potent substances such as sulfuric acid, lye, or sodium hydroxide. While effective at dissolving blockages, these chemicals can:
- Corrode Plumbing: Over time, the aggressive nature of chemical cleaners can eat away at the pipes, especially those made of softer metals like copper or galvanized steel.
- Environmental Impact: Chemicals that eventually find their way into the sewer system can contaminate water sources and harm aquatic life.
- Health Risks: The fumes released by chemical drain cleaners are hazardous to inhale and can cause respiratory issues, burns, and other serious health problems.
Natural Alternatives for Maintaining Clear Drains
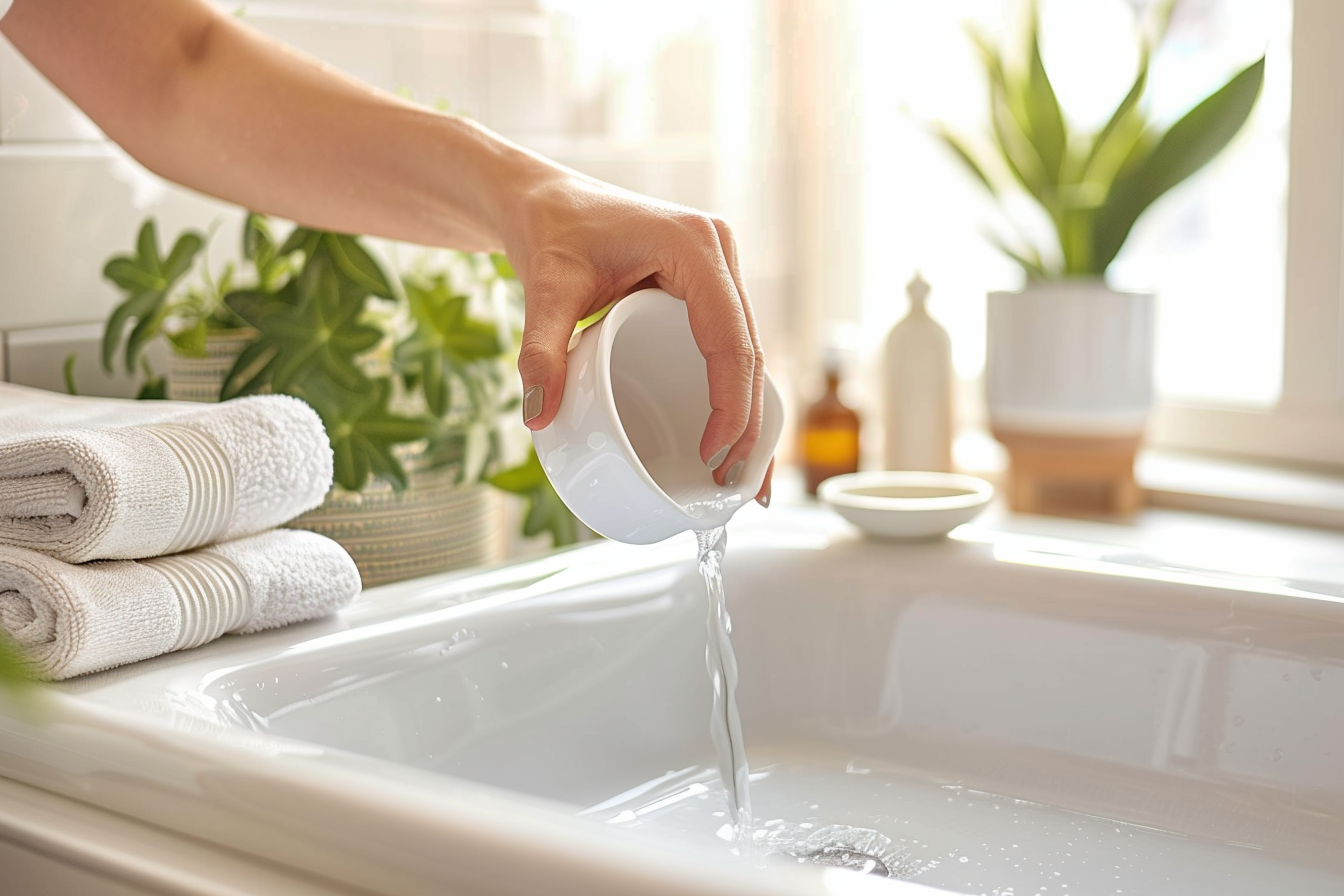
Clearing a Drain with Vinegar and Baking Soda
Switching to natural alternatives can protect your plumbing and health without sacrificing effectiveness. Here are some top choices:
- Baking Soda and Vinegar:
- How It Works: The combination of baking soda (sodium bicarbonate) and vinegar (acetic acid) creates a fizzing reaction that can help loosen and break down clogs.
- Application: Pour half a cup of baking soda directly down the drain, followed by half a cup of white vinegar. Cover the drain to contain the fizzing action within the pipes. Let it sit for at least an hour or overnight for best results, then flush with hot water.
- Hot Water Flushes:
- How It Works: Regularly flushing drains with boiling water can prevent oil and grease buildup, which is often the precursor to clogs.
- Application: Boil a kettle of water and pour it slowly down the drain in two to three stages, allowing the hot water to work on the blockage between each pour.
- Dish Soap and Hot Water:
- How It Works: Dish soap can help dissolve greasy residues, making it easier to flush away potential blockages.
- Application: Mix a few tablespoons of liquid dish soap with hot water in a pot or kettle, and pour it down the drain. Follow with more hot water to thoroughly cleanse the pipes.
- Manual Drain Snake:
- How It Works: A drain snake reaches deep into the pipe, allowing you to physically remove or break apart obstructions.
- Application: Insert the snake into the drain and push it down until you feel resistance. Twist and push the snake to break through the clog, then slowly remove it, pulling up any debris.
- Enzymatic Cleaners:
- How It Works: Enzyme-based cleaners use natural bacteria to eat away at organic matter in the pipes without damaging the plumbing.
- Application: Follow the manufacturer’s instructions. Typically, you pour the cleaner down the drain, let it sit overnight (when drain use is low), and then flush with warm water in the morning.
By avoiding chemical cleaners and opting for these natural alternatives, you can maintain your plumbing safely and effectively. Regular use of these methods not only keeps your drains clear but also minimizes the risk of sudden, severe clogs. With these tools and techniques, you’re well-equipped to handle most minor plumbing issues on your own, ensuring your home’s plumbing system remains robust and resilient.
Regular Drain Maintenance
Perform monthly cleanings to prevent debris build-up. Flush kitchen sinks with boiling water to clear grease and use hair catchers in showers to prevent blockages.
The Dangers of Ignoring Minor Leaks
Small Leaks, Big Problems
Even minor leaks can lead to significant water loss and structural damage. Address leaks promptly by tightening loose fittings and replacing deteriorated washers.
Temporary Fixes
Use plumbing tape or replace sealants around leaky joints as a temporary solution until you can get a more permanent repair.
DIY Plumbing Maintenance Tips
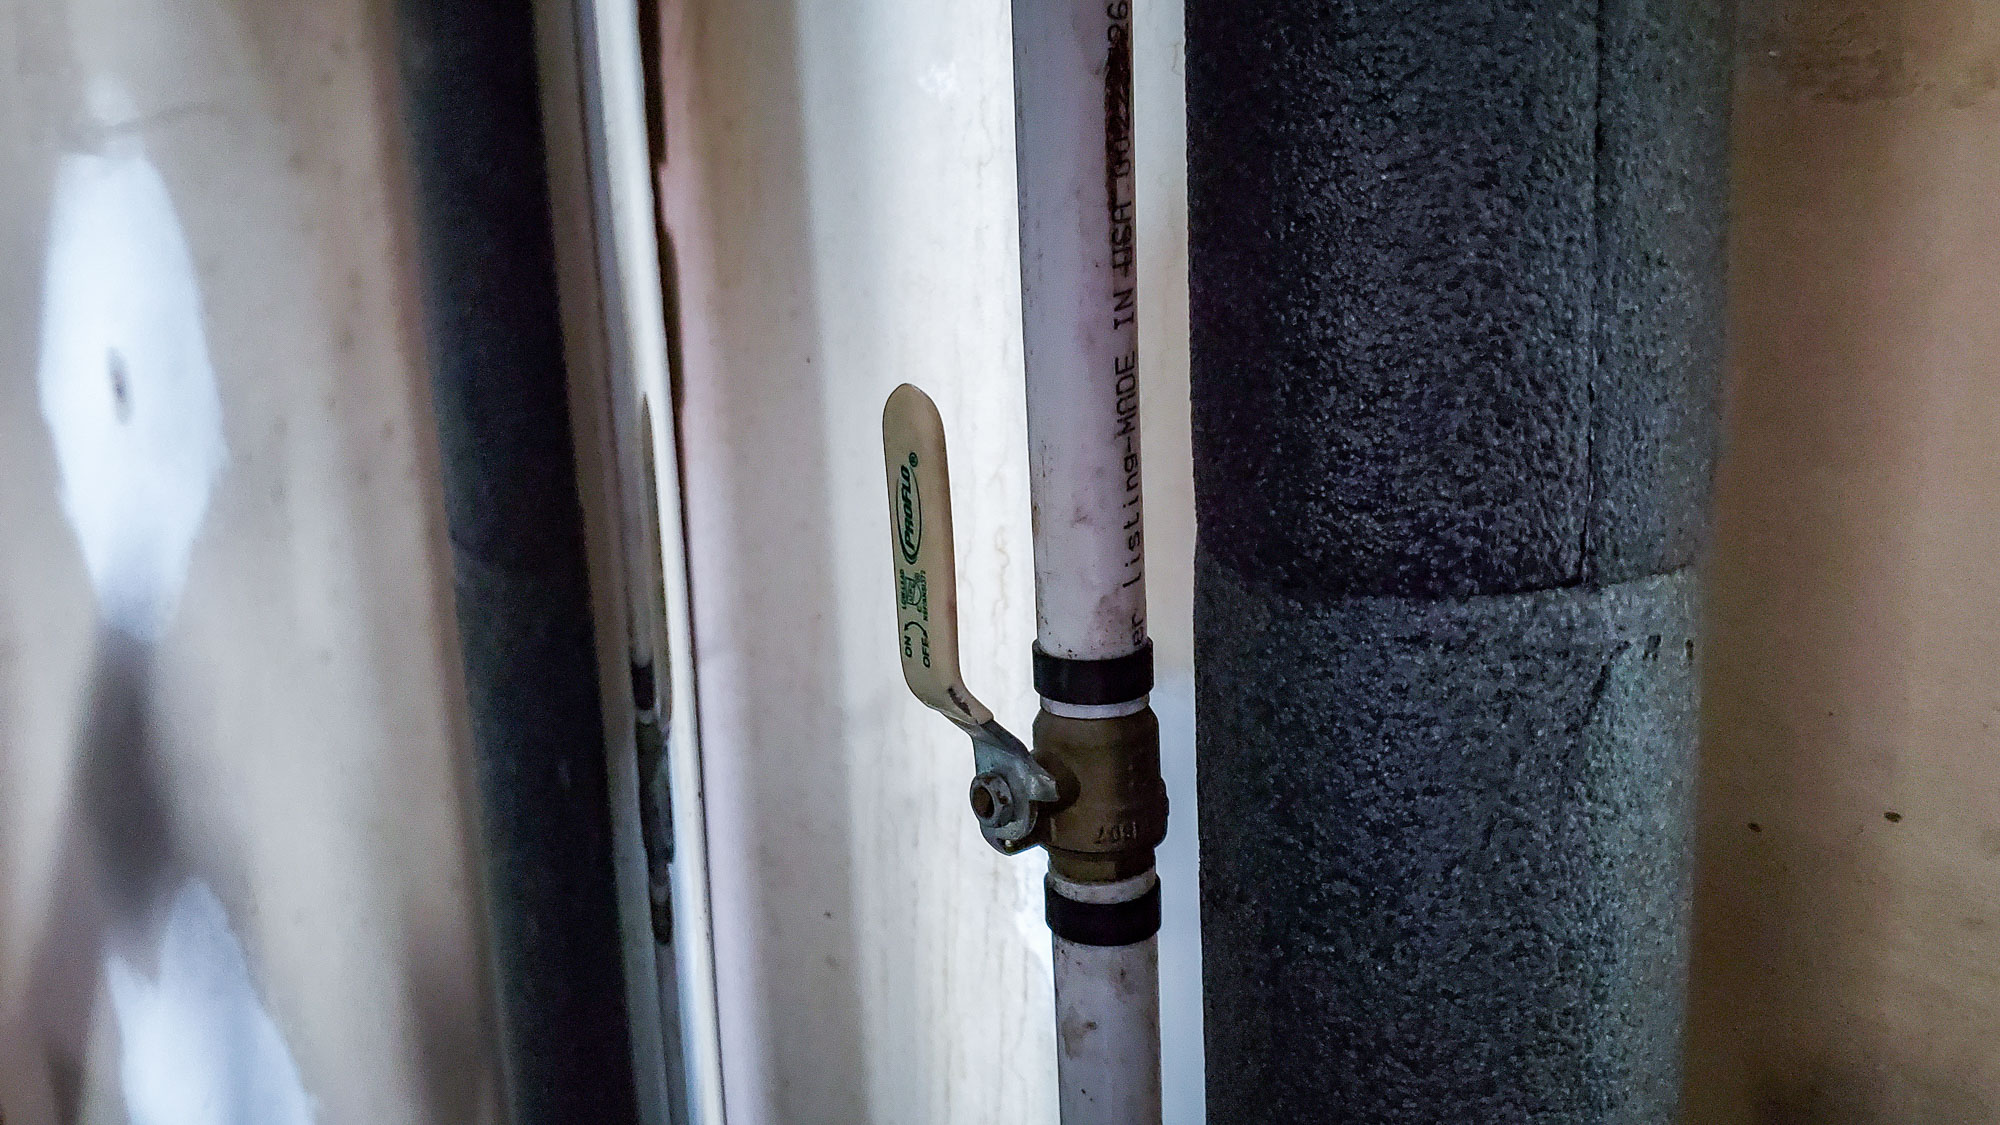
Main Water Valve Lever
- Master Your Main Valve: Locating the home’s main water shut-off valve is crucial for managing and mitigating plumbing emergencies. Knowing where this valve is can help you quickly stop the water flow in the event of a major leak or pipe burst, potentially saving your home from significant water damage. The valve itself typically looks like a wheel or lever. Wheel-type valves require several turns to close, whereas lever-type valves only need a quarter turn to the off position. Make sure the valve is easily accessible and not blocked by clutter or storage items. It’s a good idea to occasionally test the valve to ensure it isn’t stuck and can be turned easily in case of an emergency. Here’s how you can find the master main water valve in your home:
- Near the Perimeter of the House: The main water valve is typically located near the perimeter of your home since this is where the water first enters from the municipal supply. Look for it on an exterior wall, often in a direct line from the water meter if it’s outside.
- Basement or Utility Area: If your home has a basement, the shut-off valve is likely located near the front foundation wall. This is the wall nearest to the street and usually directly above or very close to the water meter. In homes without basements, check your utility area, or where the water heater is located, as the valve often resides in this vicinity.
- Garage: In some homes, especially those without basements, the main water valve might be located in the garage. Check along the walls that face the street.
- Crawl Space or Exterior: If your house has a crawl space, the main valve may be inside it, mounted against the home’s base and near the front. Alternatively, if you don’t find it inside, it could be buried near the street, usually under a metal lid, which you will also often find close to the curb or directly in line with your home’s front boundary.
- Near the Water Heater: While the main shut-off will stop all water, there’s usually a dedicated shut-off valve for the hot water heater, which can be useful if your issue is with the hot water system.
- Assemble a Basic Tool Kit: Equip yourself with essential tools to help you handle minor repairs immediately, including:
- Pipe Wrench: Essential for gripping and turning pipes, fittings, or nuts. Having two sizes can be helpful: one for stability and the other for turning.
- Adjustable Wrench: Used for tightening or loosening hex-shaped nuts and fittings commonly found on supply lines, compression nuts, and other plumbing parts.
- Basin Wrench: This tool has a long handle and a swiveling jaw, perfect for reaching nuts and fittings that secure faucets in tight spaces under sinks.
- Channel Lock Pliers: Also known as tongue-and-groove pliers, these are indispensable for a variety of tasks, such as gripping, twisting, tightening, and loosening.
- Plumber’s Tape (Teflon Tape): Used on the threads of plumbing joints to prevent leaks by ensuring a watertight seal.
- Plumber’s Putty: Used to seal drains, faucets, and toilets so water doesn’t leak around them.
- Plunger: A must-have for any homeowner, a good plunger can help clear blocked toilets and drains before they turn into bigger issues. Consider having both a flange plunger (for toilets) and a cup plunger (for sinks, showers, and tubs).
- Hand Auger (Drain Snake): A flexible cable that can be fed into pipes to remove clogs that a plunger can’t reach. It’s particularly useful for clearing showers and sink drains.
- Hacksaw: This saw is handy for cutting through various types of pipes, hardware, screws, nuts, and bolts.
- Tubing Cutter: Provides a clean and precise cut on copper pipes. It’s more efficient and neater than a hacksaw when working with copper.
- Caulk Gun and Caulk: Useful for sealing gaps around faucets, sinks, or tubs to prevent water penetration, which can lead to mold and water damage.
- Allen Wrench Set: Many plumbing fixtures, such as garbage disposals and faucet handles, use small set screws that require Allen wrenches for adjustments.
- Voltage Tester: Safety first! Use this tool to check for electric current in wires before working on any plumbing component associated with electrical systems, like a water heater.
- Flashlight or Headlamp: Many plumbing tasks require good lighting, especially when working under sinks or in poorly lit areas like basements.
- Gloves and Safety Goggles: Protect your hands and eyes when working on plumbing tasks. Sharp edges, hot pipes, and chemical drain cleaners can cause injuries.
- Educate Everyone at Home: Ensure all household members know what should not be flushed down toilets or poured into sinks.
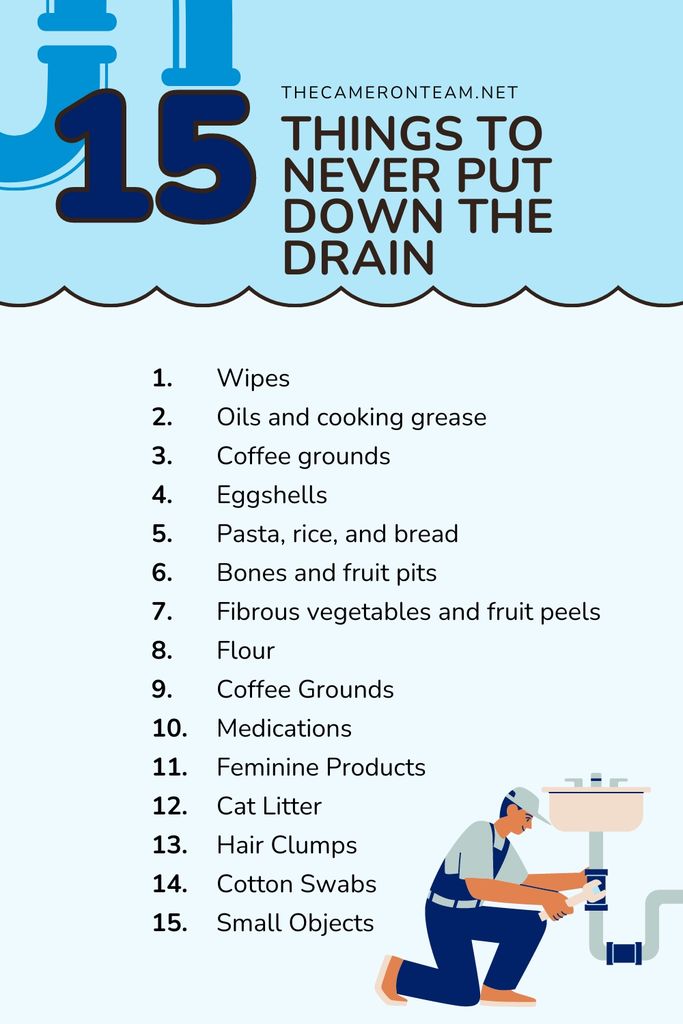
15 Things to Never Put Down the Drain
When to Call Professional Plumbers
While many plumbing issues can be managed on your own, certain situations require professional intervention:
- Severe Blockages: If you can’t clear a blockage with a plunger or a drain snake, it’s time to call in the experts.
- Recurring Leaks: If leaks persist after you’ve tried to fix them, this could indicate an underlying issue that needs professional attention.
- Major Installations: Always enlist the help of professionals for major installations like new sinks, toilets, or significant pipe replacements to ensure they are installed correctly.
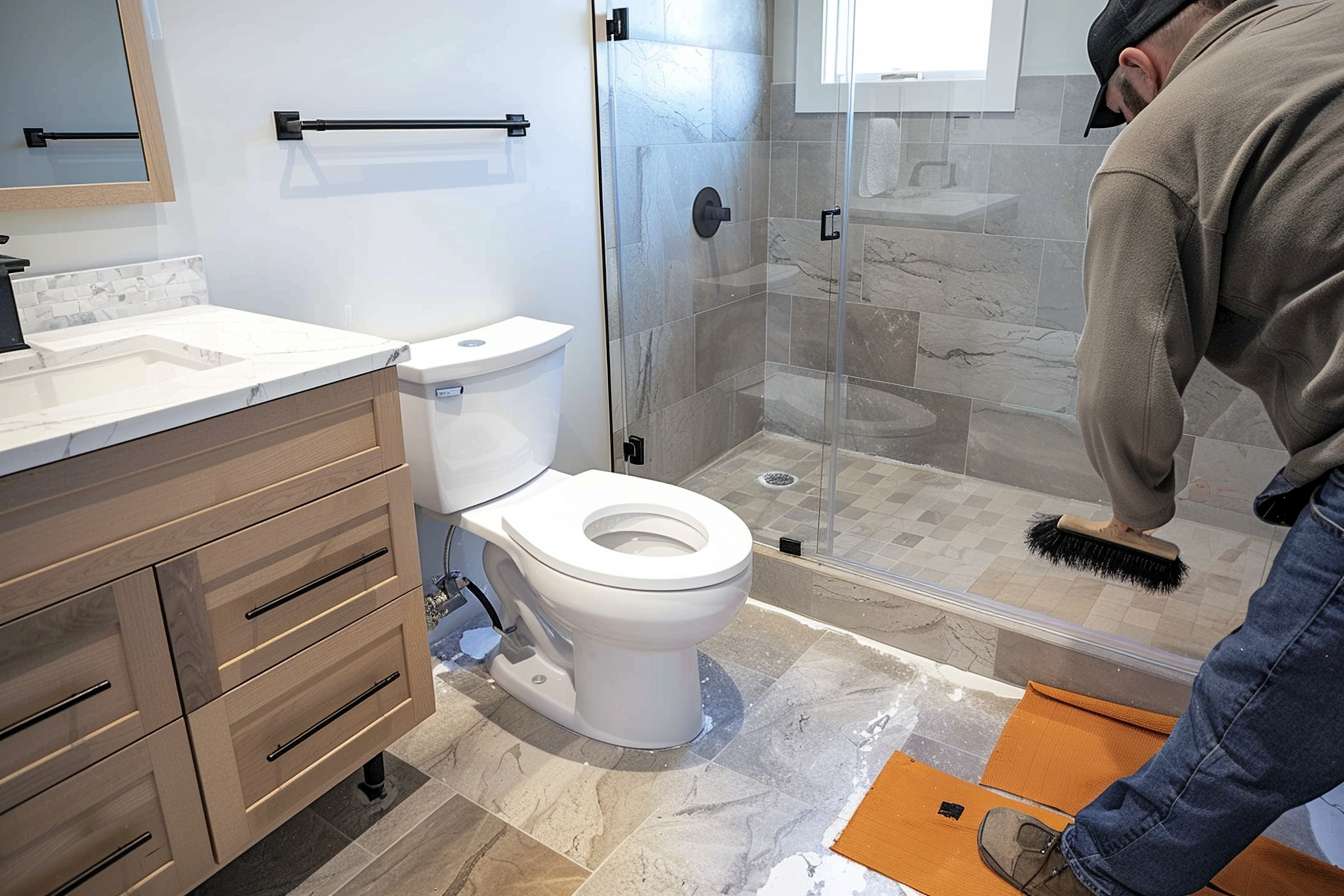
Plumber Cleaning Up Around Toilet Install
Conclusion
Maintaining your home’s plumbing system doesn’t need to be overwhelming. With regular maintenance, a proactive approach, and the right tools, you can prevent most plumbing issues. Always remember, tackling minor issues early can save you from future headaches. However, when faced with complex problems, never hesitate to contact professional plumbers. They can provide the expertise needed to keep your plumbing system functioning efficiently and your home safe from water damage.
We hope this guide helps you keep your plumbing in tip-top shape! Are there other home maintenance topics you’re curious about or specific issues you’d like more detail on? Let us know, and we can dive deeper into the world of DIY home care!

15 Things to Never Put Down the Drain
