
Every autumn, garden centers stack carts with cheery chrysanthemums in harvest colors, and—like clockwork—most of us treat them as disposable décor. We set them by the front steps for two to three months, then toss them when the pumpkins go soft. That reputation as a short-term fall accent is the biggest myth in gardening. In Eastern North Carolina (USDA Zones 8a and 8b), mums aren’t seasonal throwaways; they’re reliable perennials that can bloom more than once a year, stand up to our coastal climate, and deliver real landscape benefits long after the Halloween candy is gone. If you’ve been ignoring mums until September, it’s time to give this plant the year-round respect it deserves.
Below, we’ll cover why mums are underrated, how they behave as perennials in our region, straightforward planting and care tips, and the surprising upsides beyond good looks—like supporting pollinators late in the season, deterring certain pests, boosting curb appeal for resale, and furnishing abundant cut flowers. You’ll also find practical, month-by-month guidance and fixes for common problems so your chrysanthemums thrive—not just survive.
Why Mums Are Underrated
Mums have a marketing problem, not a performance problem. Because they’re sold heavily in autumn, many gardeners mentally file them with corn stalks and hay bales—temporary props rather than living investments. But garden mums (Chrysanthemum × morifolium) are bred to be tough, branching perennials. In Zones 8a and 8b, our comparatively mild winters and long growing season let mums root deeply and produce multiple flushes of blooms with very little fuss. They’re also astonishingly versatile: tidy in containers, robust in borders, and perfectly happy in full-sun foundation beds where they deliver that dense, mounded look many homeowners want for a “polished” front yard.
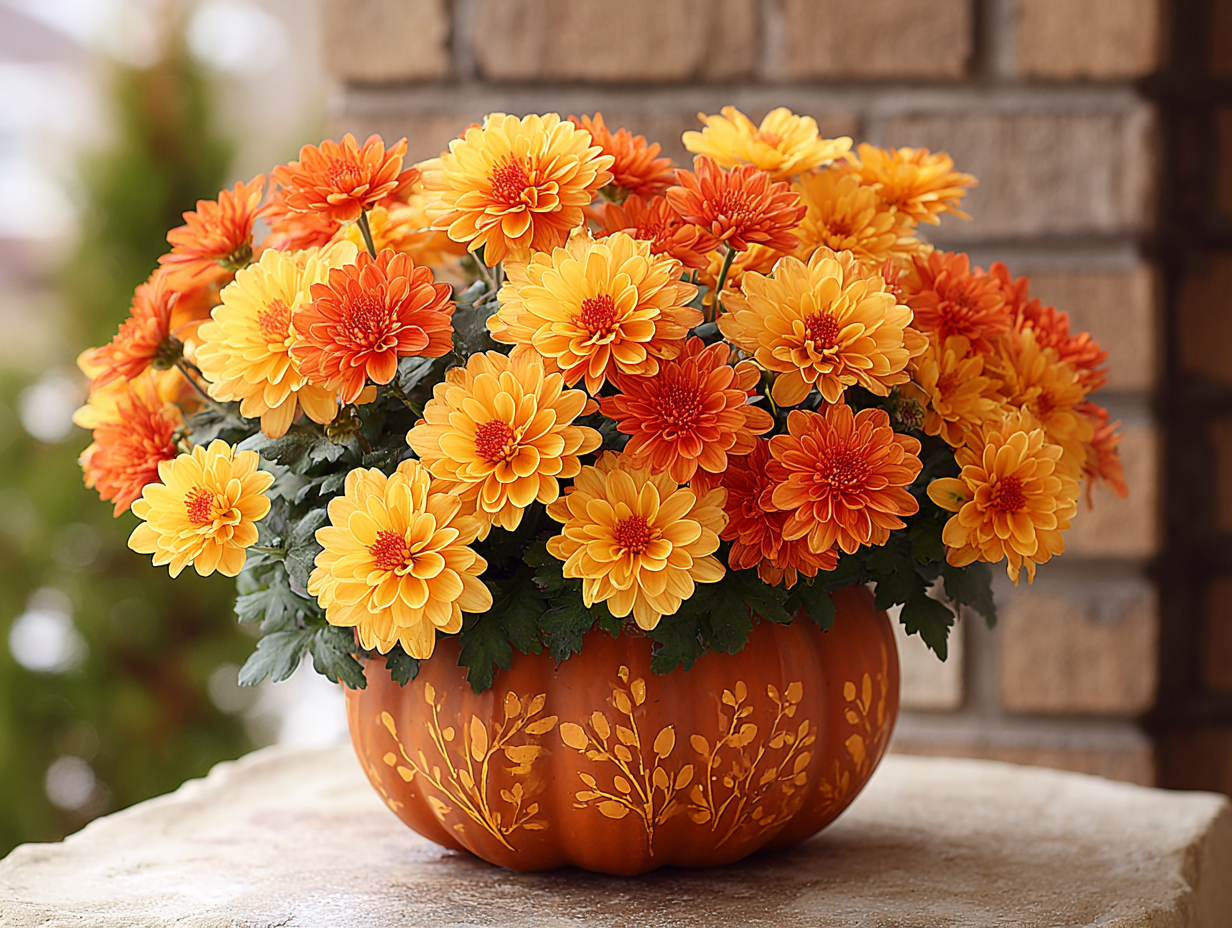
Chrysanthemum in Stenciled Pumpkin
Perennials in Eastern North Carolina (Zones 8a & 8b)
In our coastal climate, mums reliably overwinter when planted in the ground with decent drainage and a mulch layer. They break dormancy in late winter to early spring, push lush foliage in spring, and set buds as day length shortens in late summer. Most garden mums are “photoperiodic”—they bloom in response to longer nights—so you’ll see a natural crescendo of color from late summer through fall. With a light trim and continued care, many varieties will push a bonus flush before the first real cold snap, and some cultivars will even surprise you with scattered spring blooms if they established well the prior year.
The key difference from cooler regions: in Zone 8, you have enough warmth and time for strong root development and for plants to rebound after a trim. That’s why gardeners here can enjoy mums as true perennials, not just one-season color.
Can Mums Bloom More Than Once a Year? Yes—Here’s How
Most people meet mums at their peak, then let them fade. If you want repeat color:
Deadhead or shear after the first bloom. Once the flowers start to decline, shear the plant by about one-third. This directs energy to new side shoots. With our long fall weather, you may get a second wave within 4–6 weeks.
Pinch through early summer for bushiness. For established plants, begin pinching tips when stems reach 6–8 inches tall. Repeat every 3–4 weeks until early July. This creates dense, multi-branching plants with more buds. Stop pinching by early July so the plant can set flower buds for late summer and fall.
Feed lightly and water consistently. A balanced, slow-release fertilizer in spring (and a light refresh in early summer) powers vegetative growth; cut fertilizers by mid-summer to avoid overly lush foliage at the expense of blooms. Keep moisture steady—no drought stress when plants are setting buds.
Give them sun. Mums need 6+ hours of direct sun to bloom heavily and stay compact.
Follow those four steps, and in our area you can enjoy an extended fall show and occasional spring color as a bonus.
How to Plant Mums for Long-Term Success
When to Plant
For best perennial performance, plant mums in spring or early summer. That gives roots time to anchor before the heat of July and the showtime of fall. If you buy mums in autumn (understandable—the selection is irresistible), do one of two things: either heel them into the ground right after purchase so they can start rooting, or keep them in containers through fall and overwinter them in a protected spot, then transplant in early spring.
Where to Plant
Choose full sun with fertile, well-drained soil. Mums hate soggy feet. Raised beds and slightly sloped sites are perfect in our region, where heavy downpours can waterlog flat clay spots.
Soil Prep
Work in 2–3 inches of compost to improve both drainage and moisture retention. Aim for a slightly acidic soil pH around 6.0–6.5. If your soil stays wet after rain, consider a berm or an elevated bed.
Spacing
Most garden mums mature into neat mounds 18–24 inches wide. Space accordingly so they don’t crowd and trap humidity, which can invite mildew.
Planting Depth
Set the crown at the same level as the nursery pot. Water deeply to settle the soil, then mulch 2–3 inches to suppress weeds and moderate temperature swings (keep mulch a couple inches off the stems).
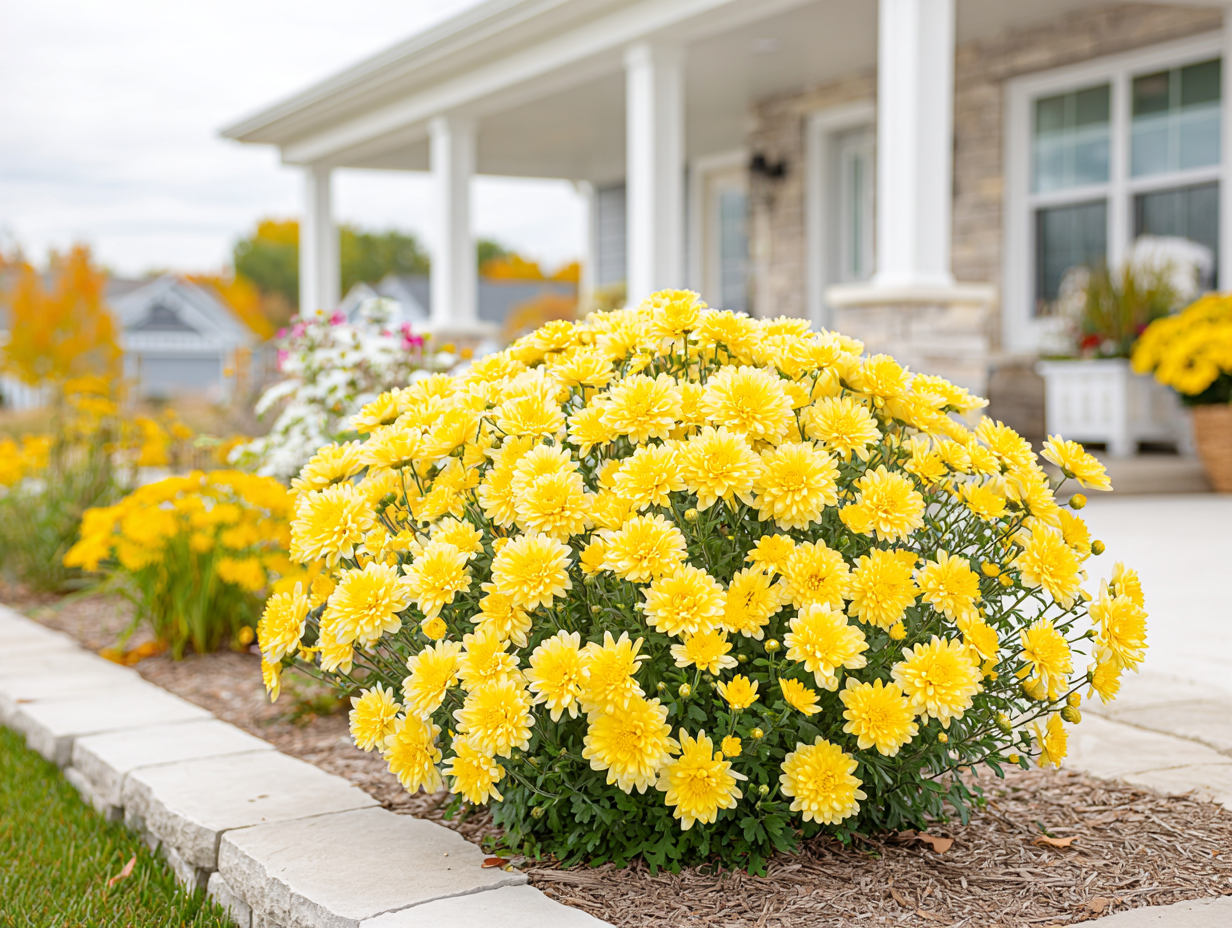
Yellow Mums Planted in Garden Bed
Care Calendar for Zones 8a/8b
Late Winter–Early Spring (February–March):
Cut back old stems to 3–4 inches once you see fresh green growth at the base. Top-dress with compost, then apply a slow-release, balanced fertilizer. If your plant is older than three years or the center looks woody and sparse, divide the clump. Replant the vigorous outer sections and discard the tired center. Division keeps mums youthful and floriferous.
Spring (April–May):
As new stems reach 6–8 inches, pinch the top 1–2 inches to encourage branching. Monitor moisture—about 1 inch of water per week from rain or irrigation. Keep weeds down and mulch refreshed.
Early Summer (June–early July):
Continue pinching every 3–4 weeks. This is the behind-the-scenes work that produces those fall “domes” of color. After early July, stop pinching so flower buds can form.
Mid–Late Summer (July–August):
Watch for spider mites and aphids during hot spells. A hard spray from the hose, insecticidal soap, or horticultural oil keeps populations in check. Maintain steady moisture, especially in containers.
Fall (September–November):
Enjoy the show. Deadhead spent blooms, or if you’re trying for a second flush, shear lightly after the first peak and keep watering. As nights cool, reduce fertilizer—plants are focused on flowers, not foliage.
Winter (December–January):
In the ground, mums overwinter well with 2–3 inches of mulch. In containers, move pots to the east side of a building, into a cold frame, or against a wind-sheltered wall. Water just enough to prevent bone-dry soil during prolonged winter droughts.
Watering and Fertilizing—Keep It Consistent, Not Complicated
Mums appreciate even moisture, particularly when budding and blooming. The rule of thumb is roughly an inch of water per week, more in extreme heat. Drip irrigation or soaker hoses are ideal—wet foliage in the evening can encourage disease. For nutrients, think “front-loaded”: incorporate compost at planting, apply a slow-release balanced fertilizer in spring, then stop feeding by mid-summer. Over-fertilizing late can push soft foliage at the expense of fall color.
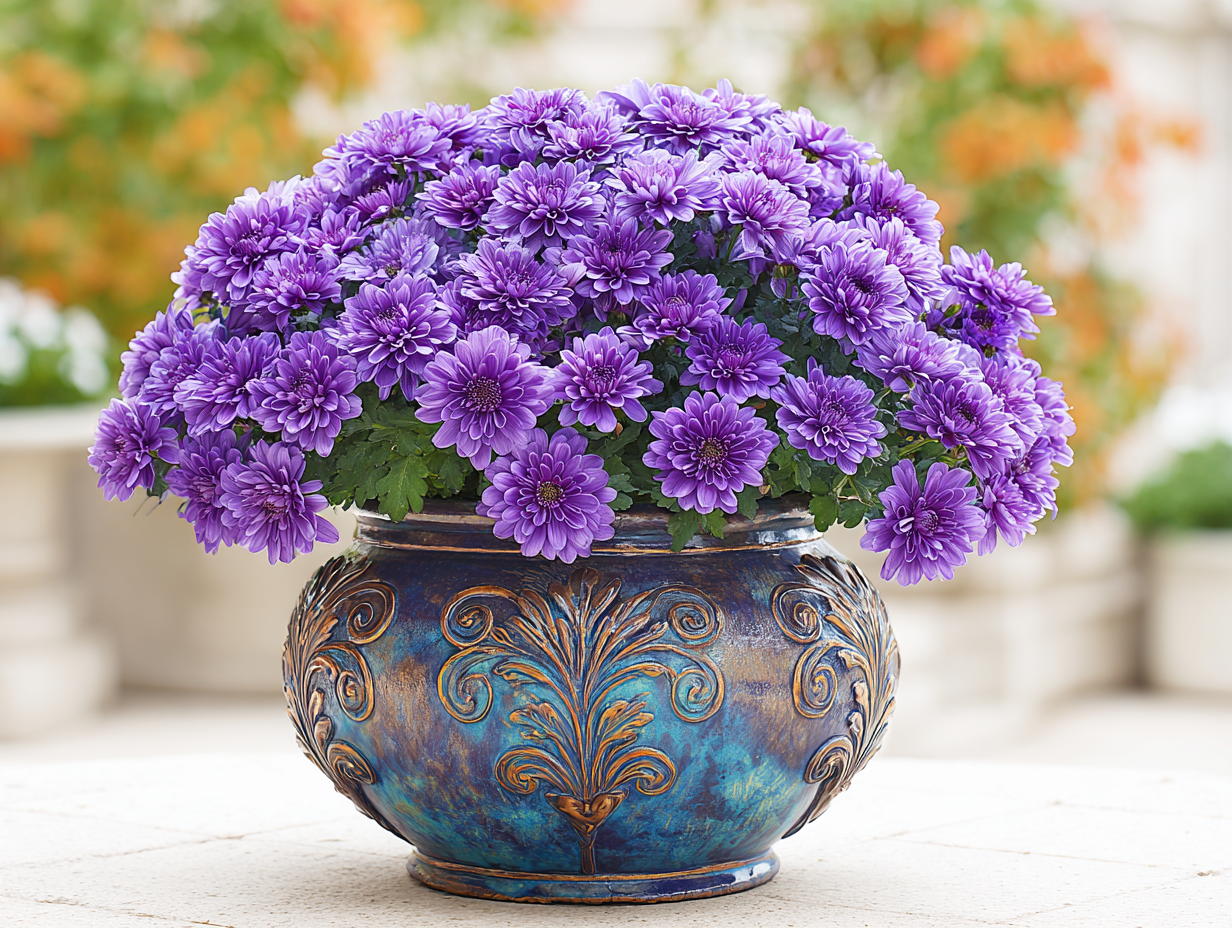
Potted Chrysanthemum
Container Mums: Big Color, Small Footprint
Container mums are perfect for porches, patios, and entryways. For perennial performance:
Choose a pot at least 12–14 inches wide with real drainage holes.
Use a high-quality potting mix (not garden soil).
Water thoroughly whenever the top inch dries. Containers dry faster than beds.
After bloom, trim lightly, keep watered, and overwinter in a bright, protected location outdoors (against a wall, under an eave). In late winter, cut back and feed.
In spring, either bump up to a larger container or transplant to the garden.
Design Ideas: Mums That Don’t Scream “Fall Display”
If your goal is year-round landscape polish, mix mums into existing beds the way you would core perennials:
Shrub companions: Plant mums in front of dwarf hollies, boxwood, camellia sasanqua, or loropetalum. The evergreen backdrop makes their color pop.
Perennial partners: Pair with salvias, coreopsis, asters, and gaura for a long season of blooms. In Zone 8, these combinations carry color from late spring through frost.
Textural foils: Add ornamental grasses (like muhly grass) for motion and contrast. When the pink muhly plumes are glowing in October, a tuft of bronze or deep red mums in front is magic.
Color strategy: Choose one or two shades and repeat. For a coastal palette, think creamy white, soft apricot, or cool pinks with silvery foliage plants. For traditional fall, choose garnet, copper, or butterscotch and echo them in pumpkins and wreaths.

Red Mums Planted In Front of Pink Muhly Grass
Beyond Pretty: Real Benefits of Mums
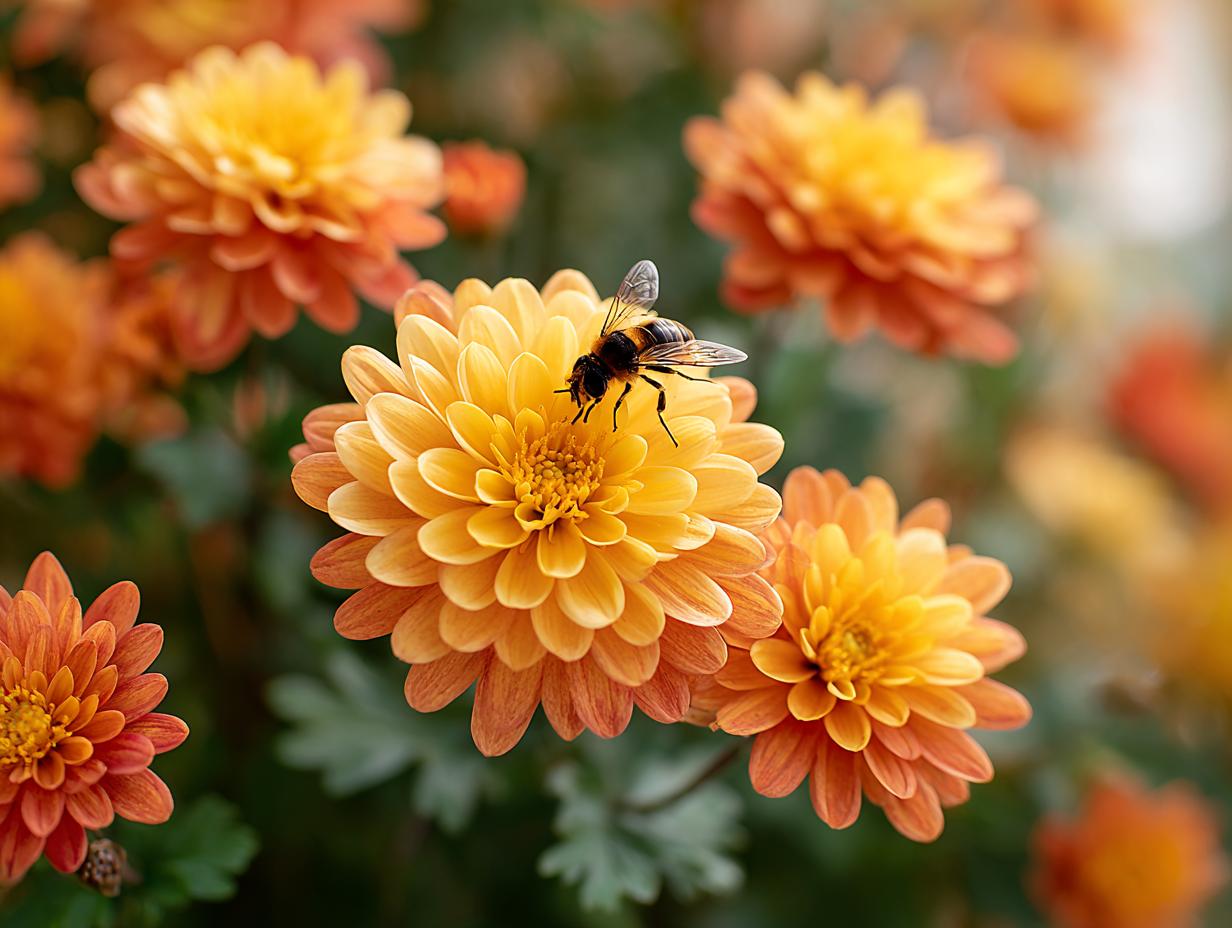
Late-Season Pollinator Support
Single and semi-double mums can provide nectar and pollen late in the season when many other flowers are fading. While tightly double, decorative forms are more for looks than for pollinators, mixing in a few single or daisy-type mums helps bees and butterflies tank up before winter. In our region, that late-season buffet matters.Pest Management (the Friendly Kind)
Mums are close relatives of plants used to produce pyrethrins, a natural compound found in certain chrysanthemum species and used in many garden insect controls. While the common garden mum isn’t your personal insecticide factory, many gardeners notice fewer chewing pests on and around mums. They can also serve as “banker” plants that attract beneficial insects (like lacewings) which then patrol your beds.Curb Appeal with Staying Power
Because mums are dense, symmetrical, and tidy, they read as “well-maintained” from the street. That’s not just cosmetic—if you’re getting ready to sell, layered plantings that include perennial mums can stretch color into the listing months and show buyers that the yard doesn’t require a horticulture degree to look good.Cut-Flower Abundance
Mums are renowned in the floral industry for a reason: sturdy stems, long vase life, and a spectrum of forms—spider, spoon, pompon, anemone, daisy. Plant a row, and you’ll have homegrown bouquets from September into November. Harvest in the cool of morning, strip lower leaves, and change water every other day.Erosion and Edging
Compact, clumping mums are excellent along sloped borders or as edging in beds that get the brunt of summer downpours. Their fibrous root systems help knit soil together.Cultural & Culinary Notes
In parts of Asia, certain chrysanthemums are used for tea and edible greens. If that interests you, source culinary-labeled plants or dried flowers specifically grown for food use; don’t consume flowers from decorative nursery stock, which may have been treated with non-food-grade pesticides.Pet Considerations
Chrysanthemums can be toxic if ingested by dogs and cats, causing GI upset and drooling. If your pets are prone to sampling plants, consider placing mums in areas they can’t reach or opting for containers on elevated porches.
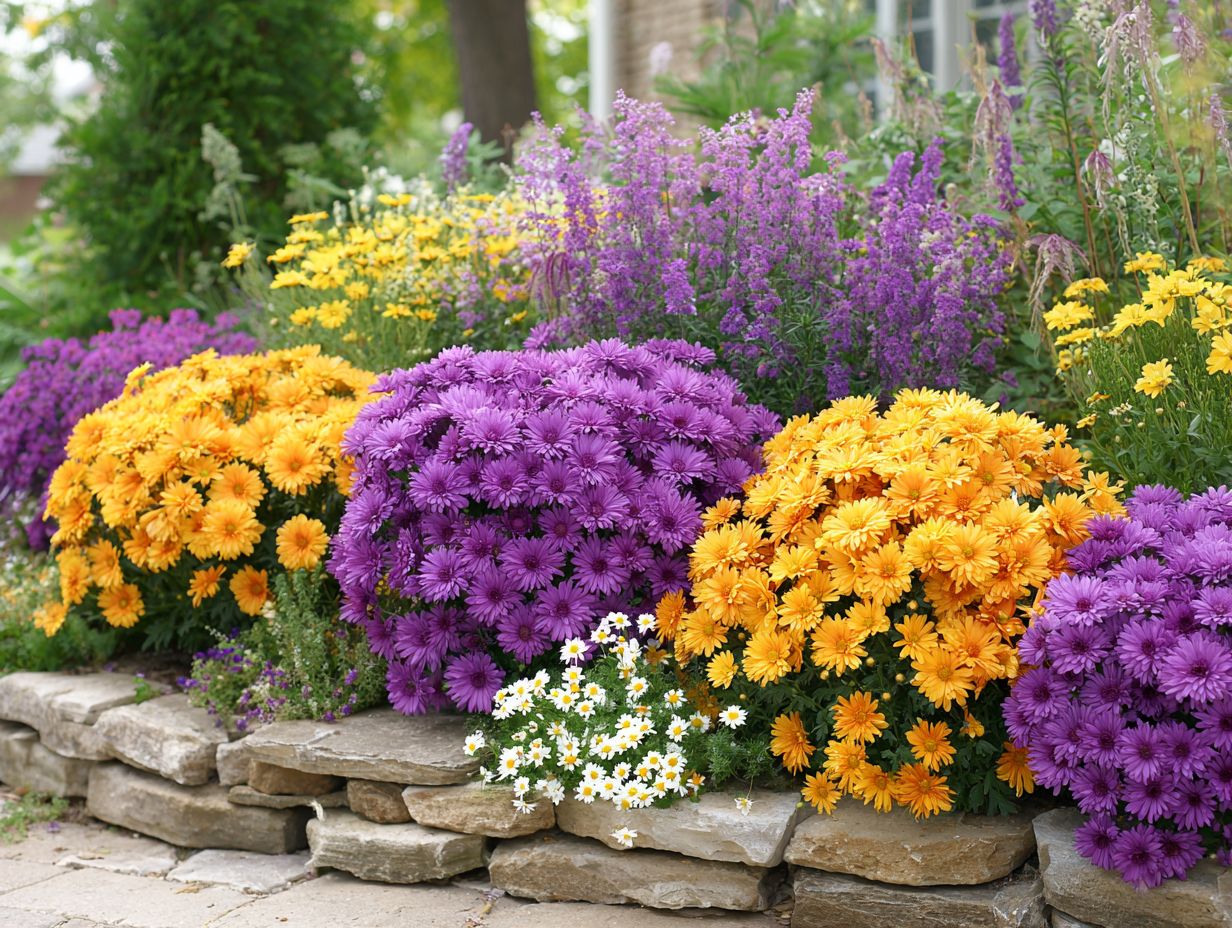
Mums, Salvias, Coreopsis, Asters, and Gaura
Common Problems and Easy Fixes
Leggy Plants or Flopping: Usually caused by too little sun or skipping summer pinches. Move to a sunnier spot and resume pinching next spring. You can also lightly shear early in the season to encourage branching.
Powdery Mildew or Leaf Spot: Improve air circulation by spacing correctly, water at the base, and remove affected foliage. A preventative fungicidal spray can help during long humid stretches.
Few or No Blooms: Insufficient sun, over-fertilizing late in the season, or excessive summer pinching after early July can delay flowering. Adjust sun exposure and your pinch calendar next year.
Crispy Buds or Sudden Wilting in Heat: In late summer, containers especially can dry out fast. Increase watering frequency and consider afternoon shade for potted mums during heat waves.
Aphids/Spider Mites: A weekly rinse with the hose undersides-up can keep populations low. If needed, treat with insecticidal soap or horticultural oil, following label directions.

Divided Chrysanthemum
Propagation: Get More Mums for Free
Division: Every 2–3 years in early spring, lift and divide the clump into pie-shaped sections. Replant the best outer sections.
Cuttings: In late spring, take 3–4 inch tip cuttings, remove lower leaves, and root in a sterile mix. Keep evenly moist and shaded until rooted, then pot up.
A Simple, Repeatable Routine for Zone 8
If you want the “just tell me what to do” version, here’s your annual chrysanthemum rhythm for Eastern North Carolina:
February–March: Cut back old growth. Divide old clumps. Add compost and a slow-release fertilizer.
April–June: Pinch tips every 3–4 weeks until early July. Water consistently.
July–August: Stop pinching, watch for pests, keep water steady.
September–November: Enjoy blooms; deadhead and (optionally) shear lightly after the first flush to encourage a second.
December–January: Mulch 2–3 inches. In containers, move to a protected outdoor spot and water sparingly.
Frequently Asked Questions
Are those big, showy “florist mums” perennial too?
Florist mums sold as gift plants are often pushed in greenhouses for instant color and may be less hardy than garden mums. In Zone 8, you still have a decent shot at overwintering them if you plant promptly, provide excellent drainage, and mulch well. For guaranteed perennial performance, look for hardy garden cultivars at nurseries.
Can I keep mums blooming indoors?
You can enjoy a potted mum indoors for a couple of weeks near a bright window, but they’re outdoor plants at heart. Once the flowers fade, move the plant outside to recover.
Do mums need staking?
Not if you pinch and grow them in full sun. Properly pinched mums form sturdy mounds that hold themselves up, even after storms.
What varieties should I look for?
Seek “hardy garden mums” suited to the Southeast. Daisy and anemone types often offer better pollinator access; decorative doubles deliver that full, cushion look. Mix forms for interest—just keep the color palette cohesive if curb appeal is the goal.
Pollinator on Mum
The Bottom Line: Treat Mums as the Perennial Workhorses They Are
In Eastern North Carolina, chrysanthemums are more than a once-a-year photo op. With a spring planting, a few summertime pinches, and consistent moisture, mums will reward you with mounds of color, two (and sometimes three) bloom cycles, and a surprising list of benefits—from feeding late-season pollinators to furnishing armfuls of cut flowers and quietly elevating curb appeal. If you’ve been overlooking them until fall, consider this your invitation to put mums on your spring shopping list, give them prime sun in the landscape, and let them prove how indispensable they are.
Quick-Start Checklist for Success
Plant in full sun with well-drained, compost-amended soil.
Space 18–24 inches apart for airflow and tidy mounds.
Mulch 2–3 inches; keep mulch off stems.
Pinch in spring and early summer (stop by early July).
Water consistently (about 1 inch/week), especially in heat.
Shear lightly after the first fall flush for possible rebloom.
Overwinter in the ground with mulch; in containers, shelter in a protected outdoor spot.
Divide every 2–3 years to keep plants vigorous.
Give mums a real place in your landscape plan, and they’ll repay you season after season—no straw bales required.
Check out this article next